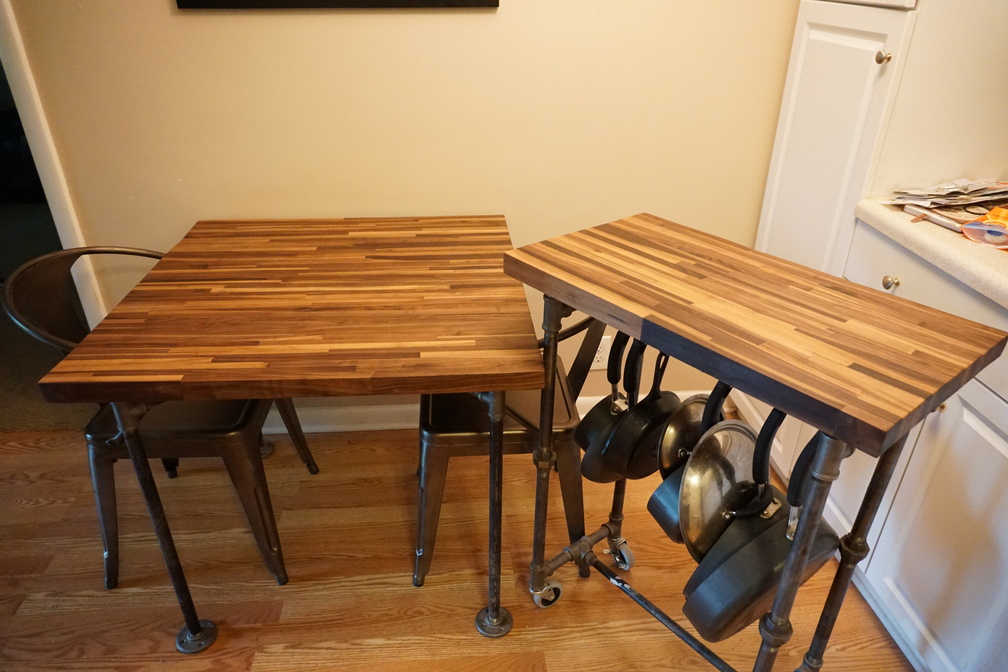
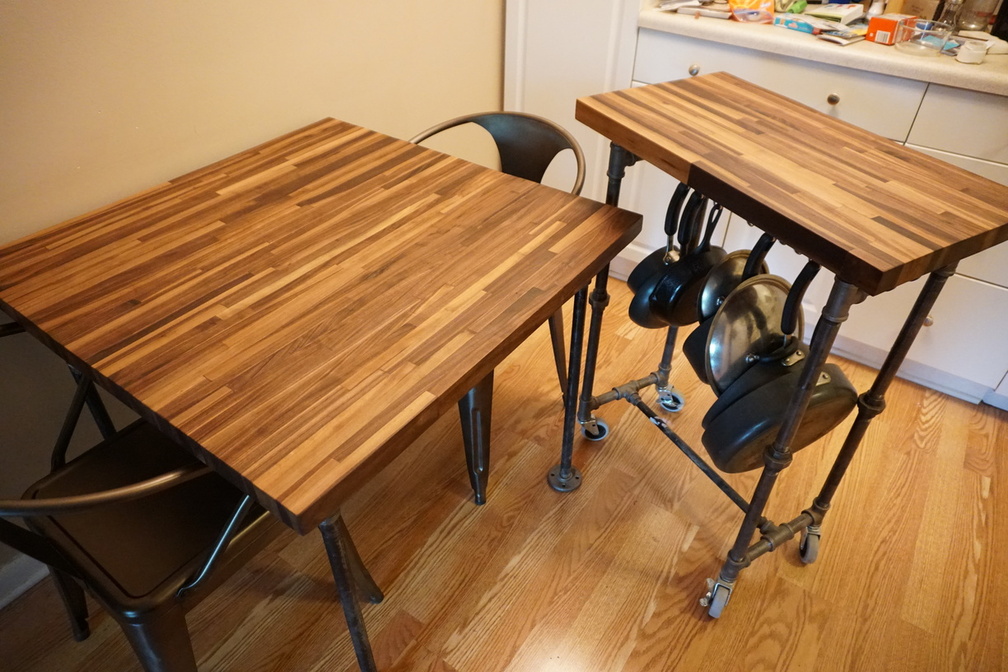
Finished Product First

Not Pictured: A Lot of Sawdust Covering My New Apartment
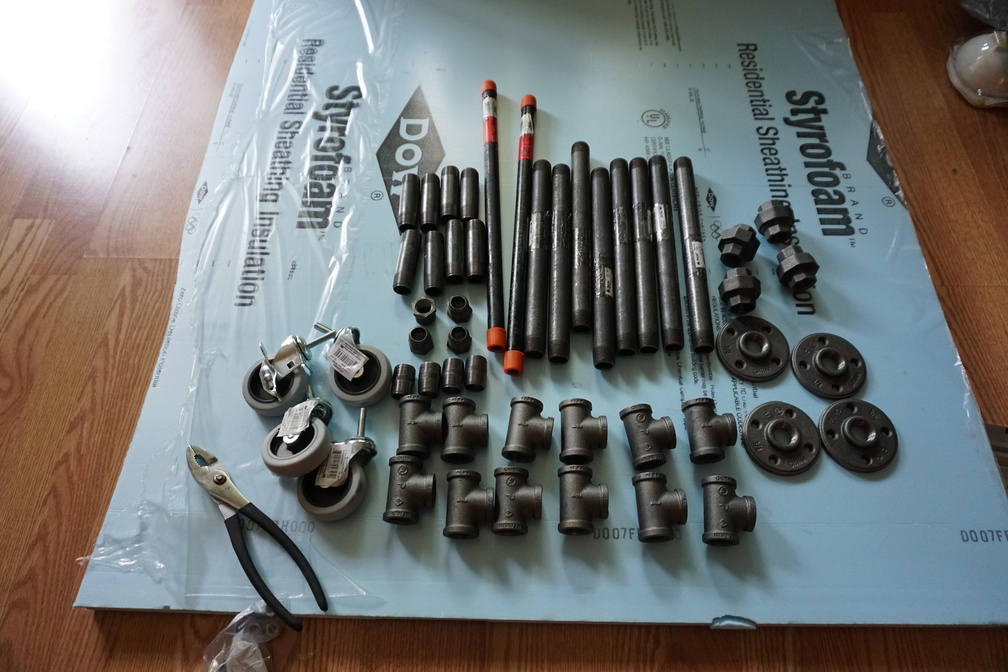
Piling Up Everything After a Ton of Planning
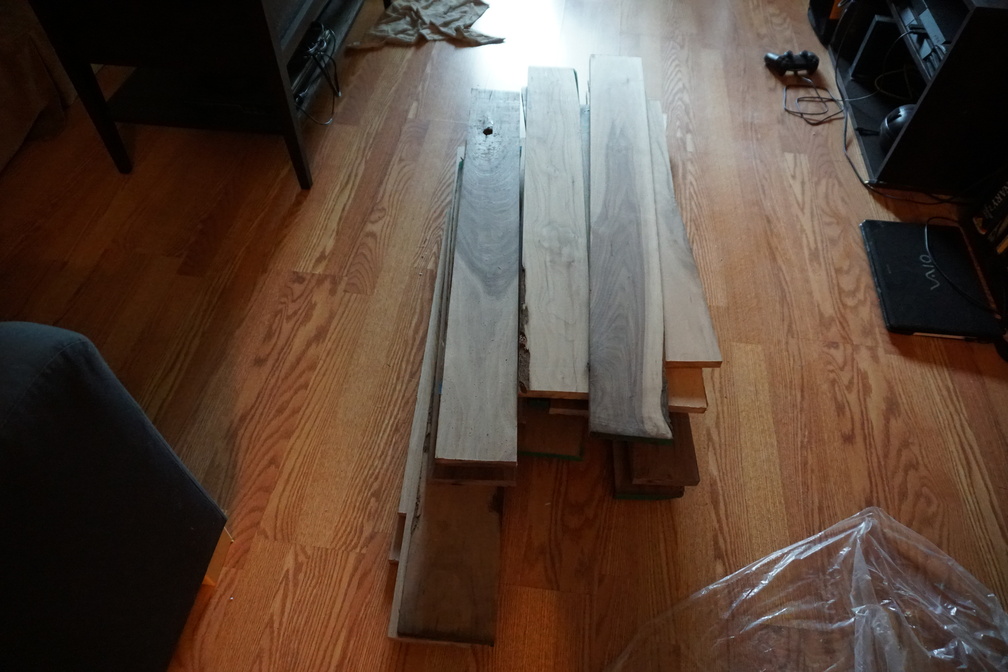
I went with walnut, as it is relatively cheap in Tennessee. But this was definitely the no-turning-back moment.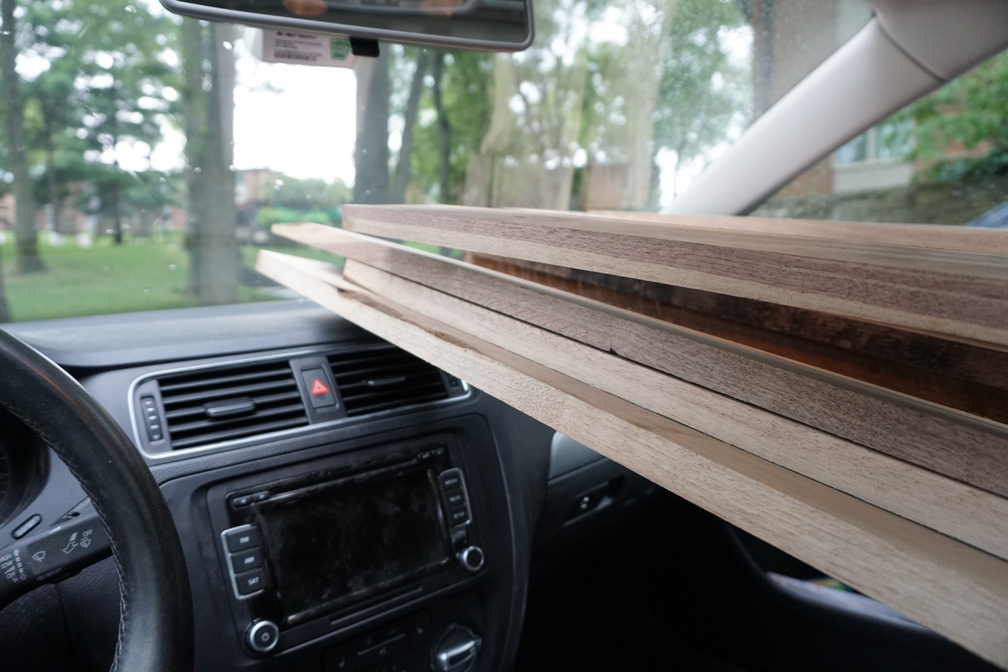

Showing up to the lumber yard in my sedan was probably hilarious to the owner, but the wood fit (I think these were 8ft S2S)
S2S = Surfaced on 2 Sides. In reality this was S3S, as there was a straight cut ripped edge. All lumber from Lowes/Home Depot is going to be S4S. For a more detailed explanation from a professional, click here

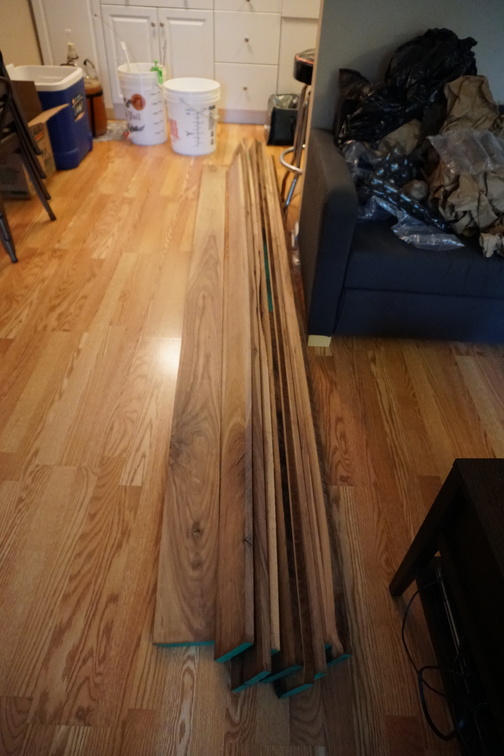
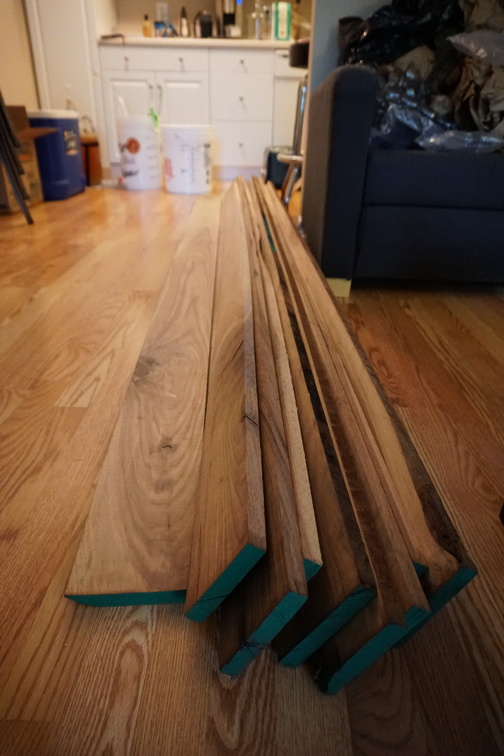
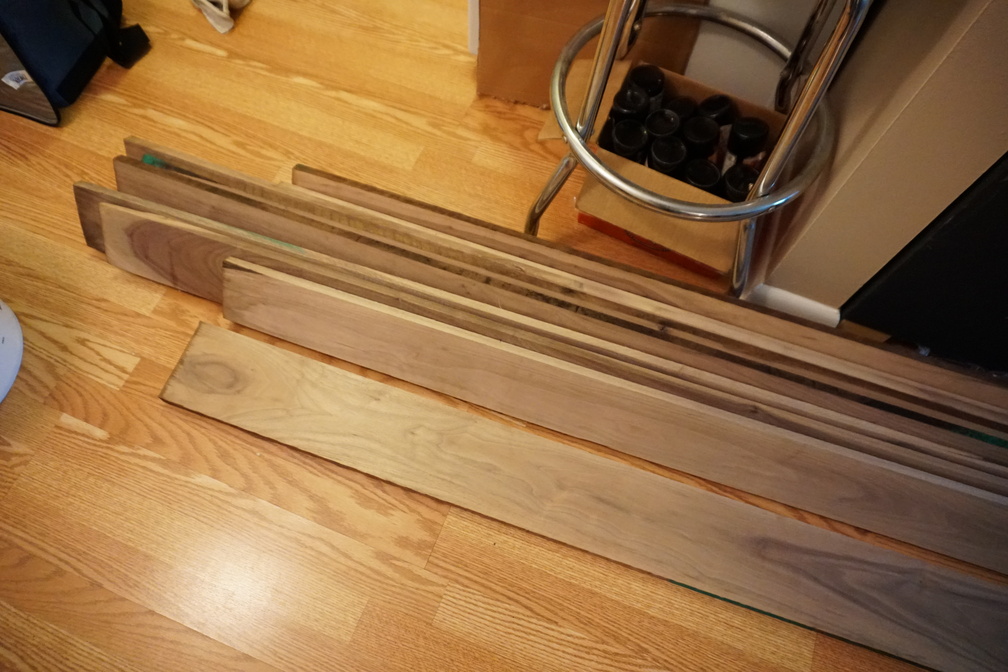
Table Frame
Pipe projects were all the rage at this point (Summer 2016), but I was going to put a bit more thought into my project.
In reality it was easy and I didn’t have a good plan for making legs/frame in an apartment “woodworking” setup Left: the design I went with. Right: the design I secretly wanted to do, but pipe fittings are expensive. Also give everyone the opportunity for proper after dinner leg crossing
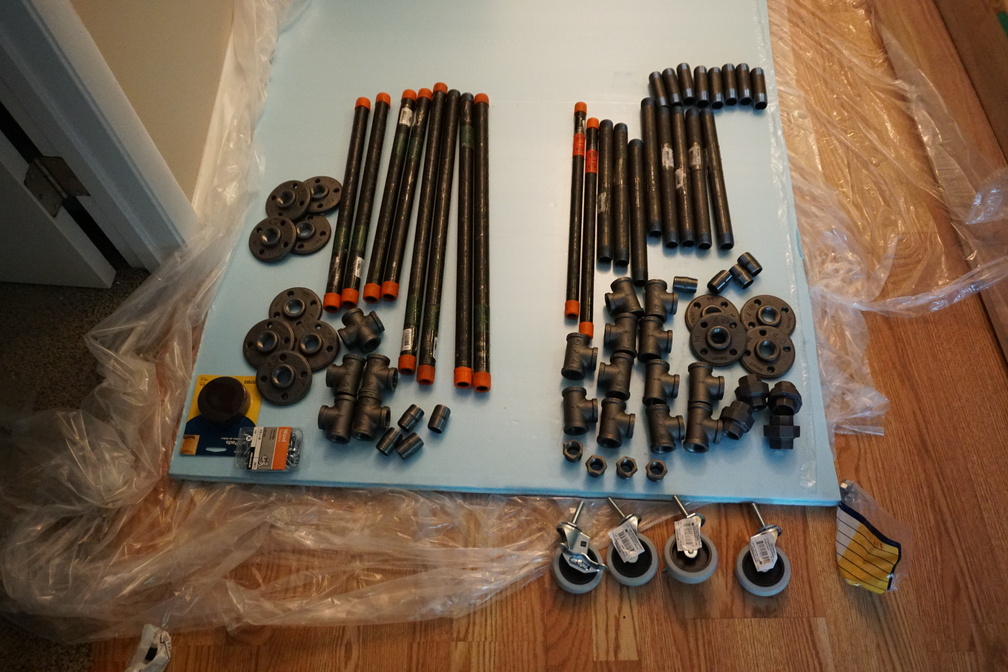
This was surprisingly expensive. Probably Lowes/Home Depot’s way of cashing in on the pipe crafting trend
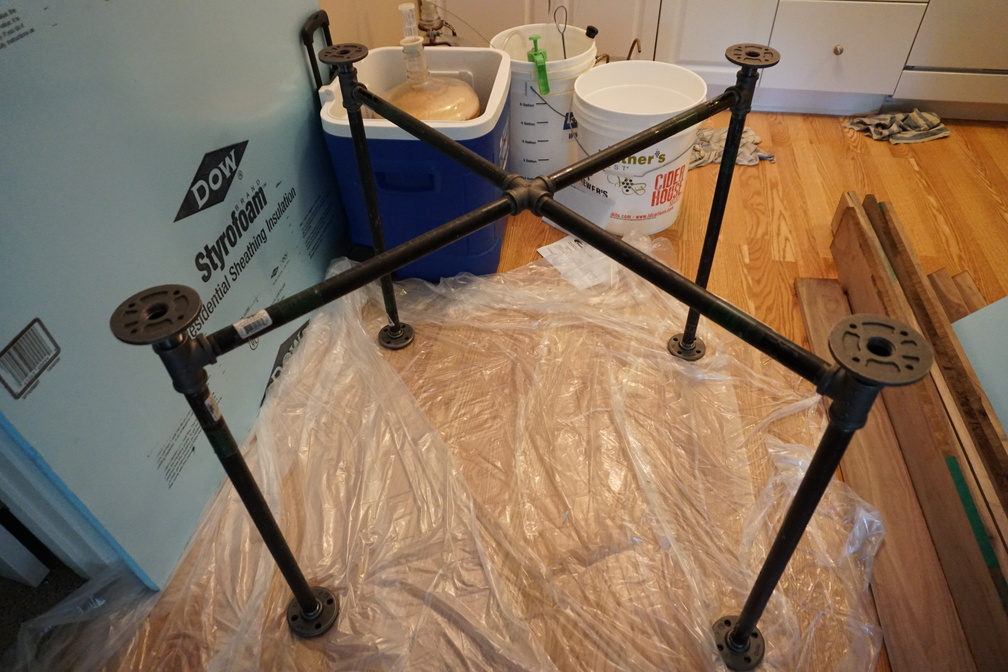
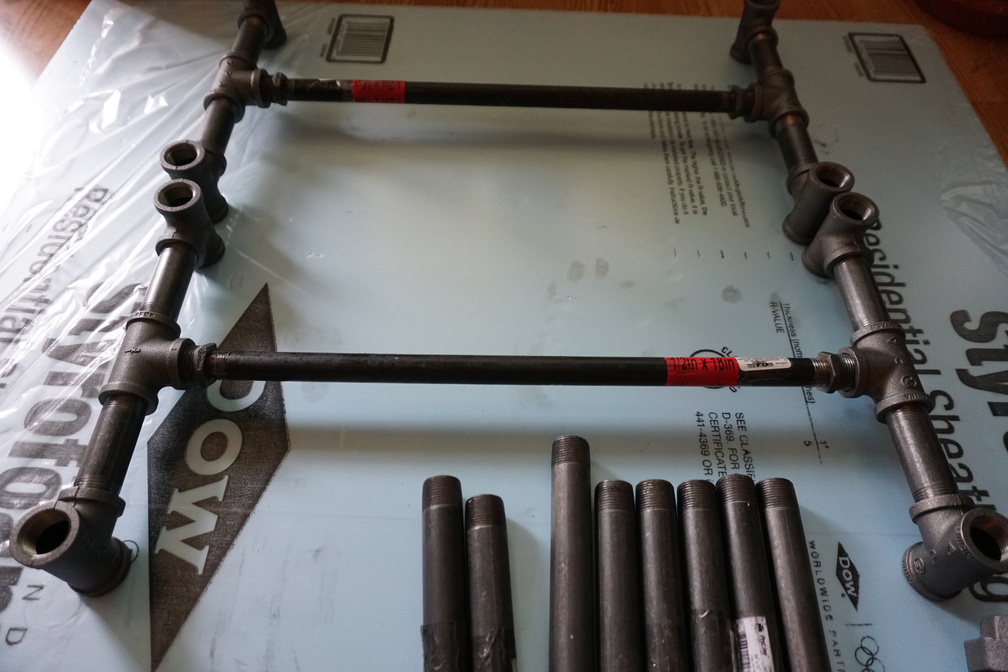
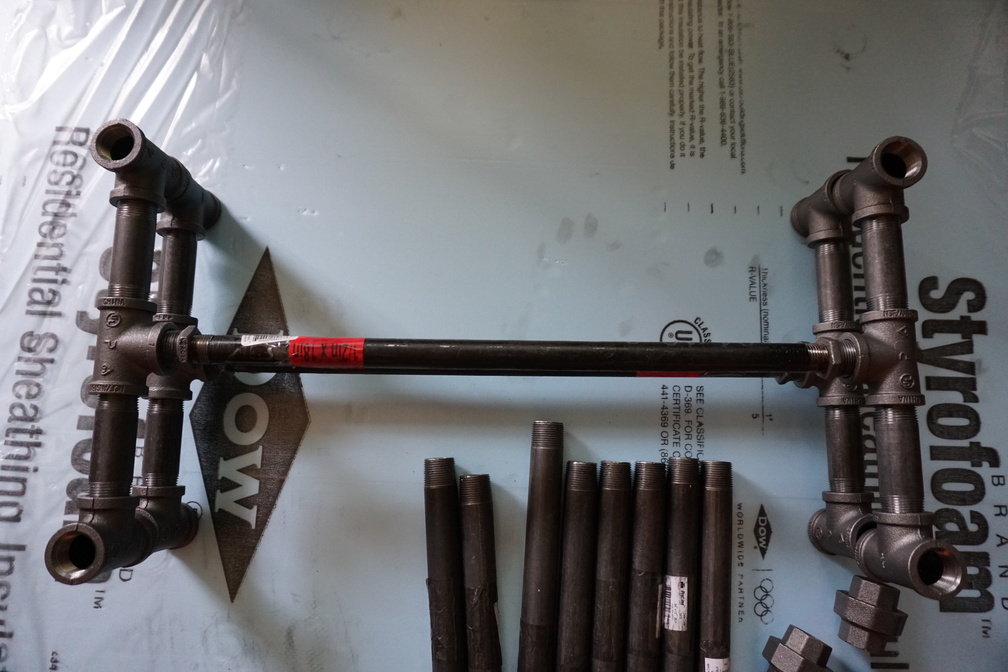
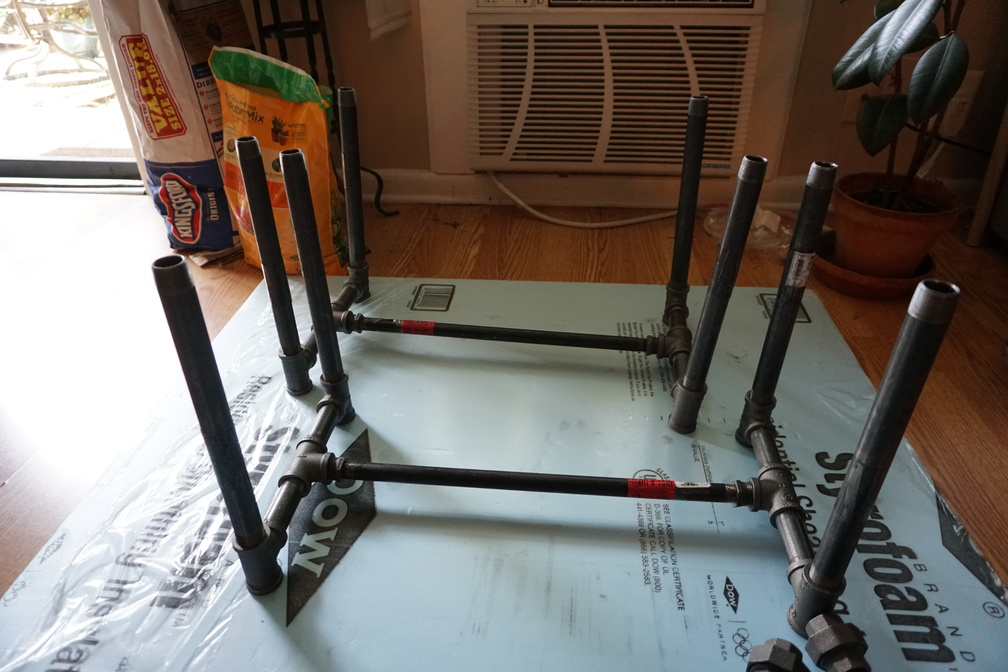
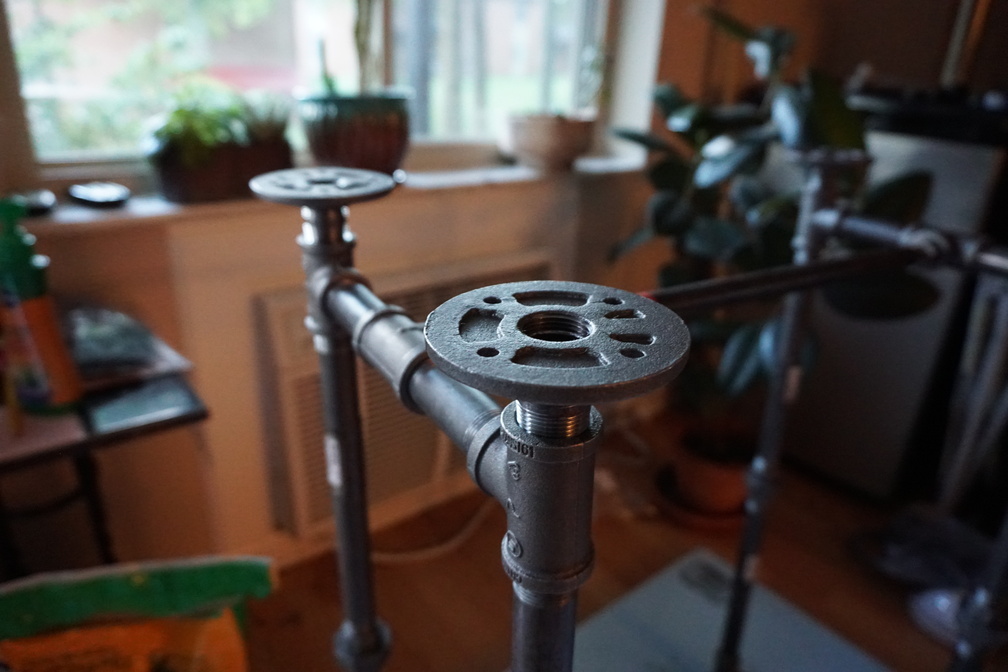
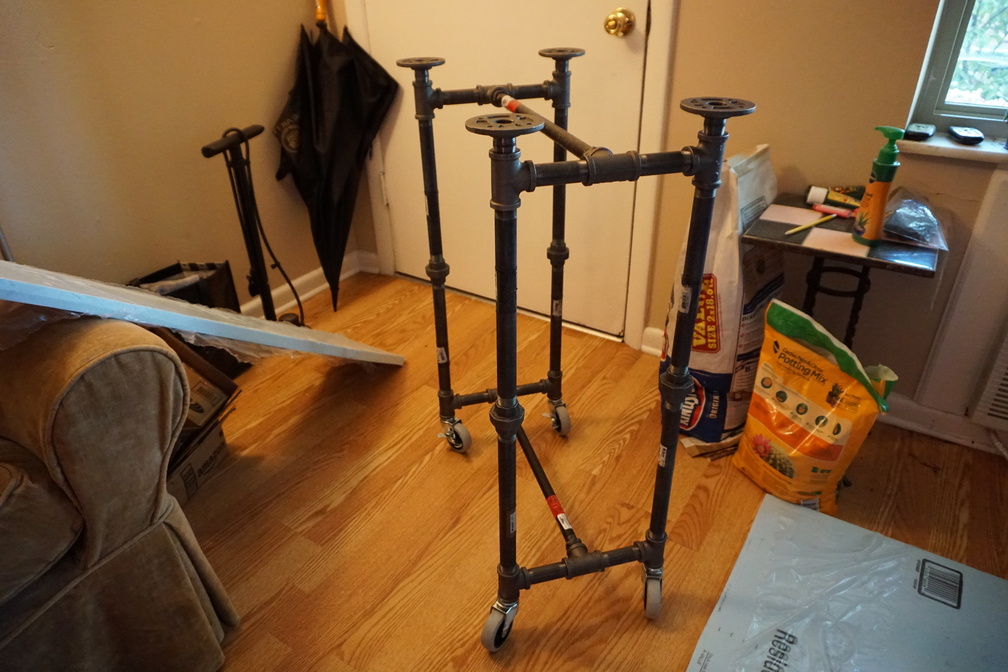
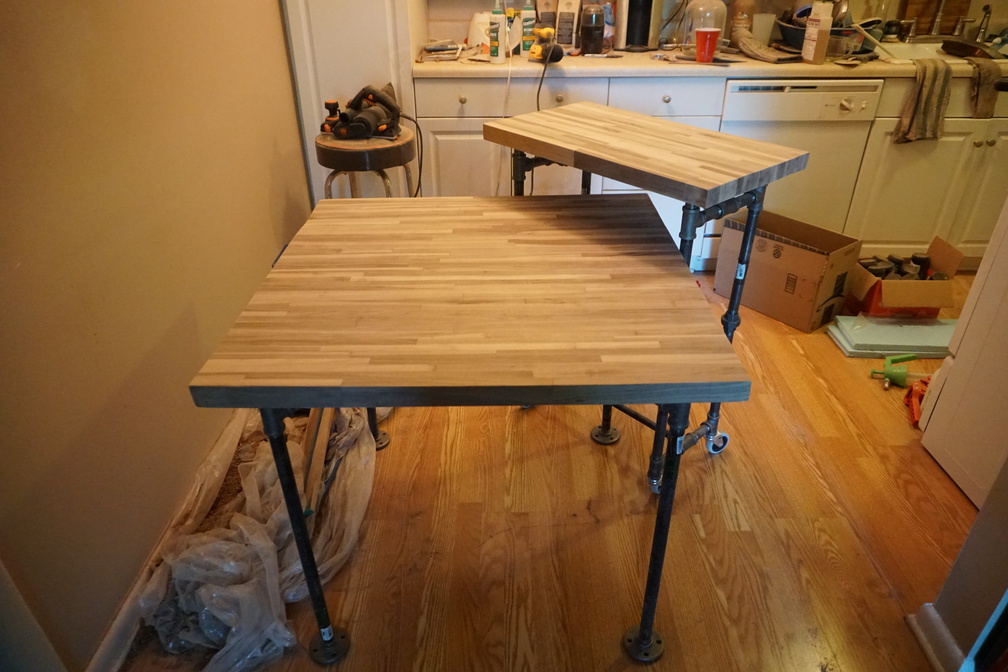
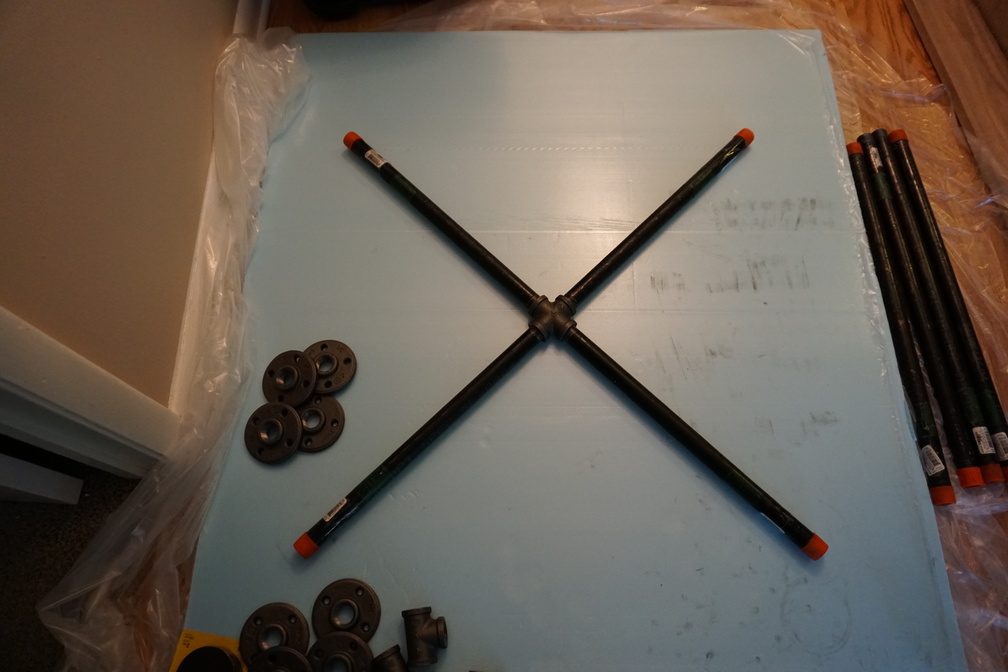 Here you can get a sense of the design I was going for. I took some time to improve on the designs I had seen as to maximize the distance between the bottom edge of the table and someone's thighs as well as making all 4 sides usable. This X-shape gives everyone room for knees and thighs. And yes I did a few simulations in Adobe Illustrator
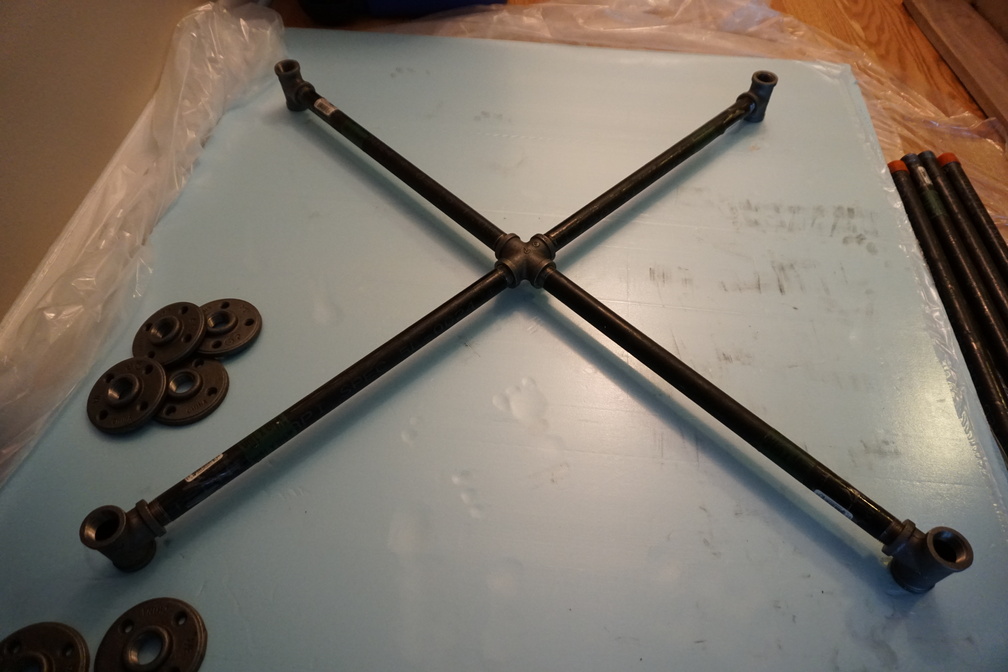

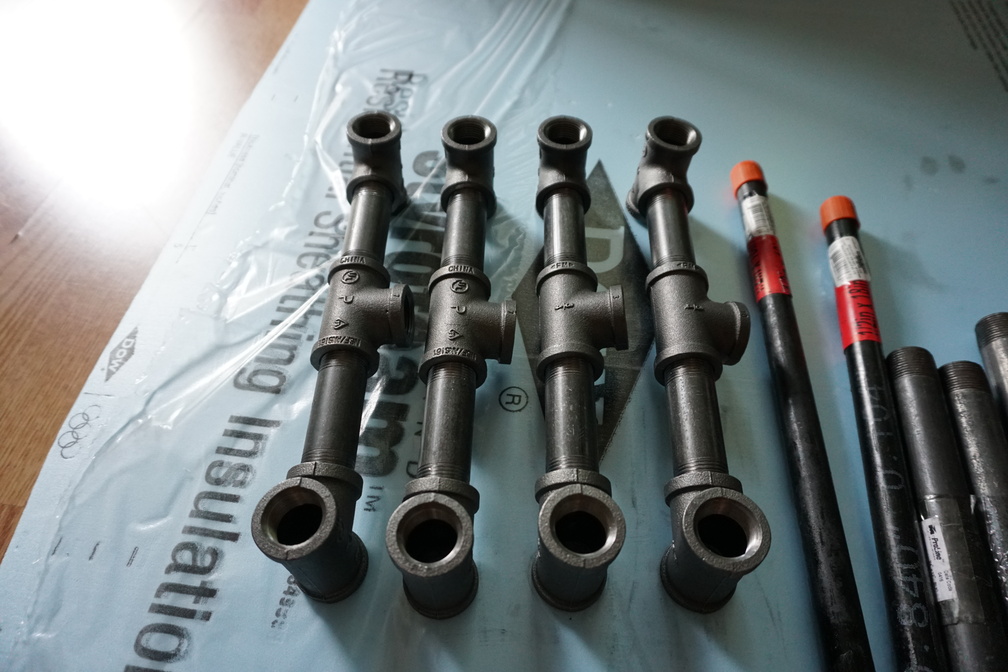
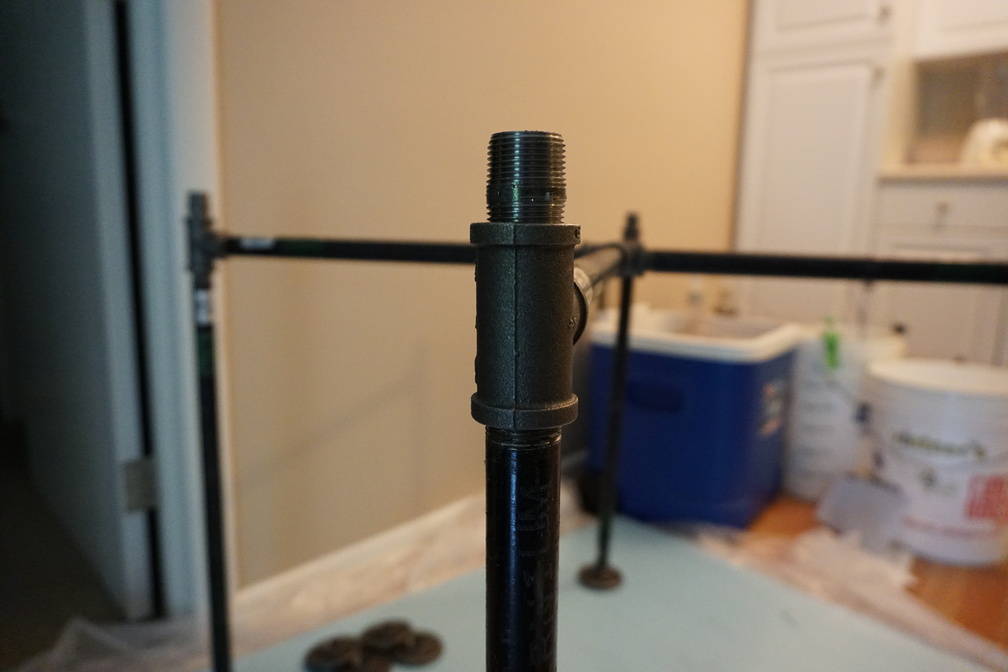 As well as being a necessary connector, these also gave me some wiggle room to level out the table. Since I didn't have a large planer to ensure that, I gave myself a few places where I could level things out.
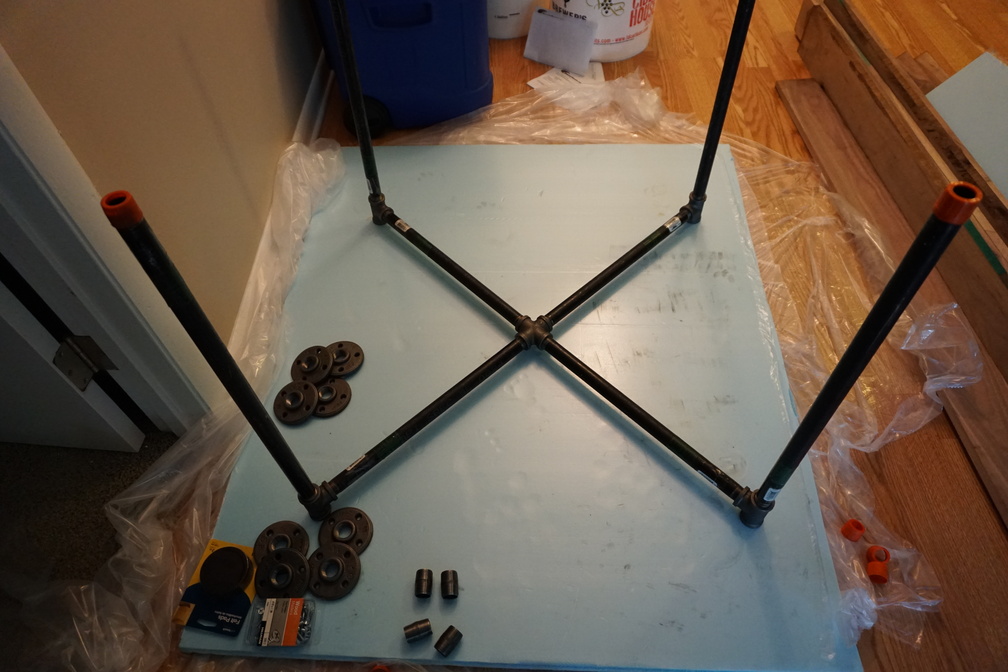
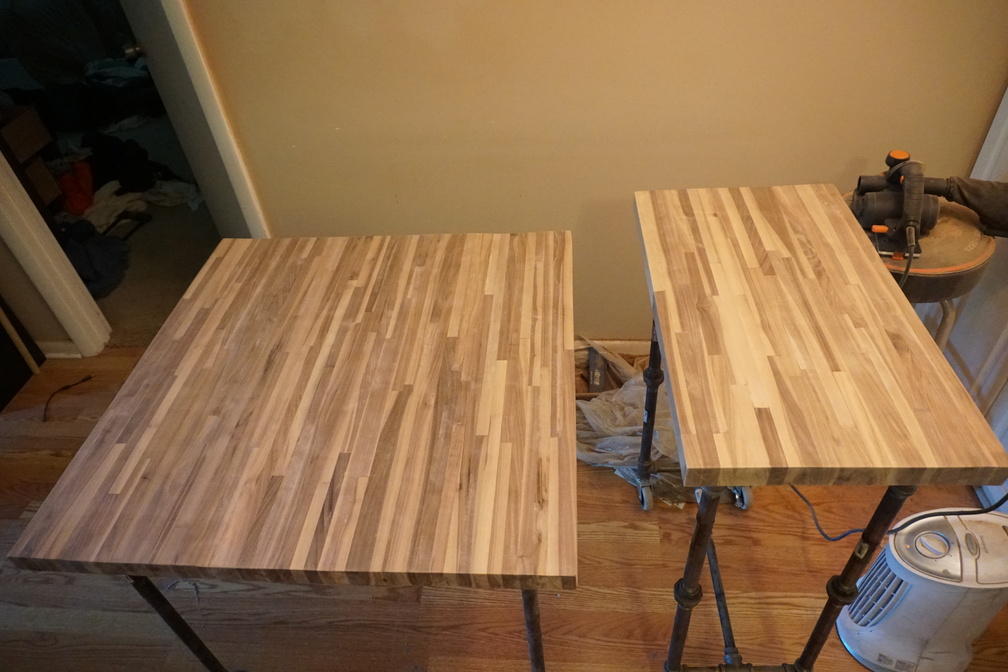
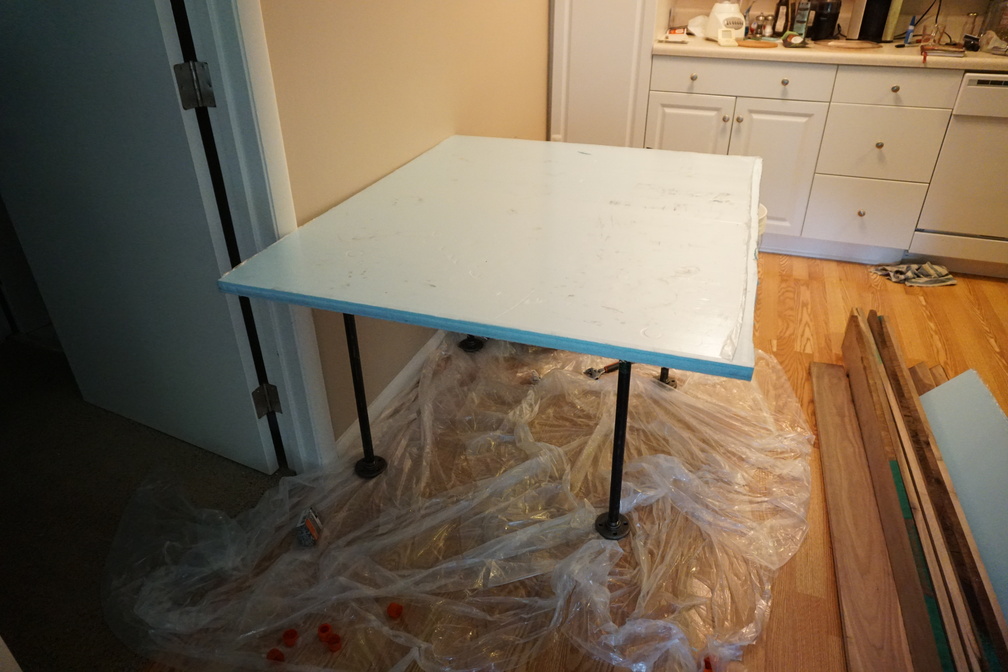 Mockup of the final table dimensions to ensure I was in the right ballpark. Also I needed a work surface to cut the wood later.
Kitchen Cart
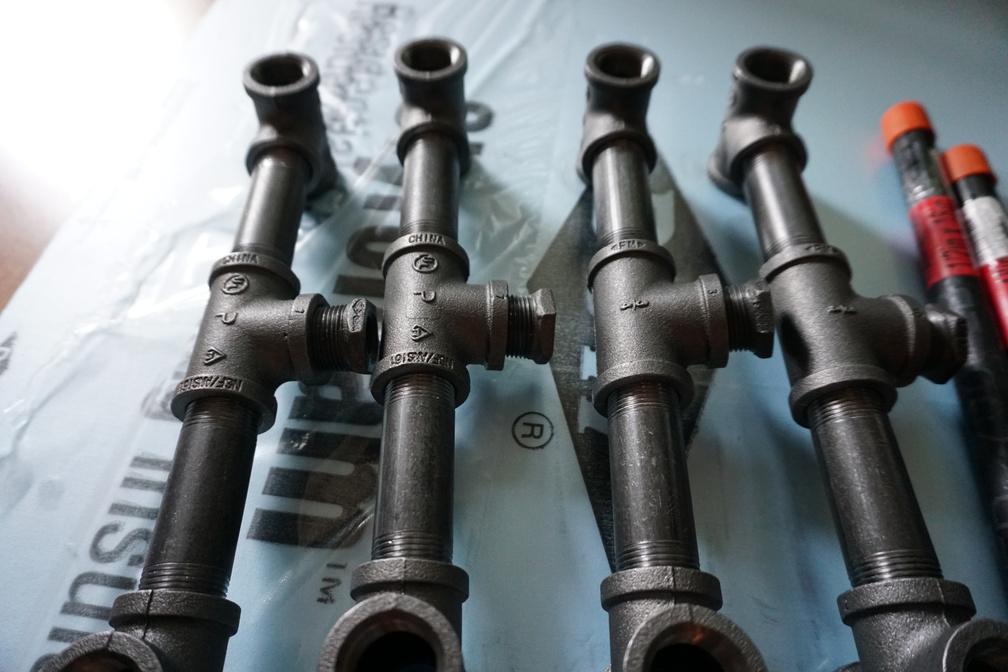
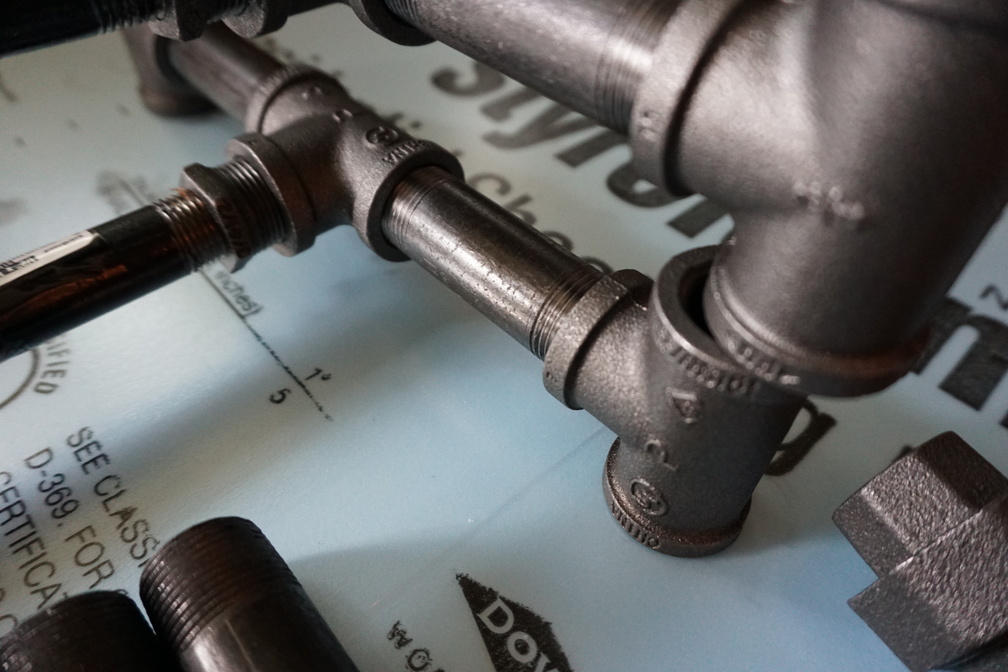
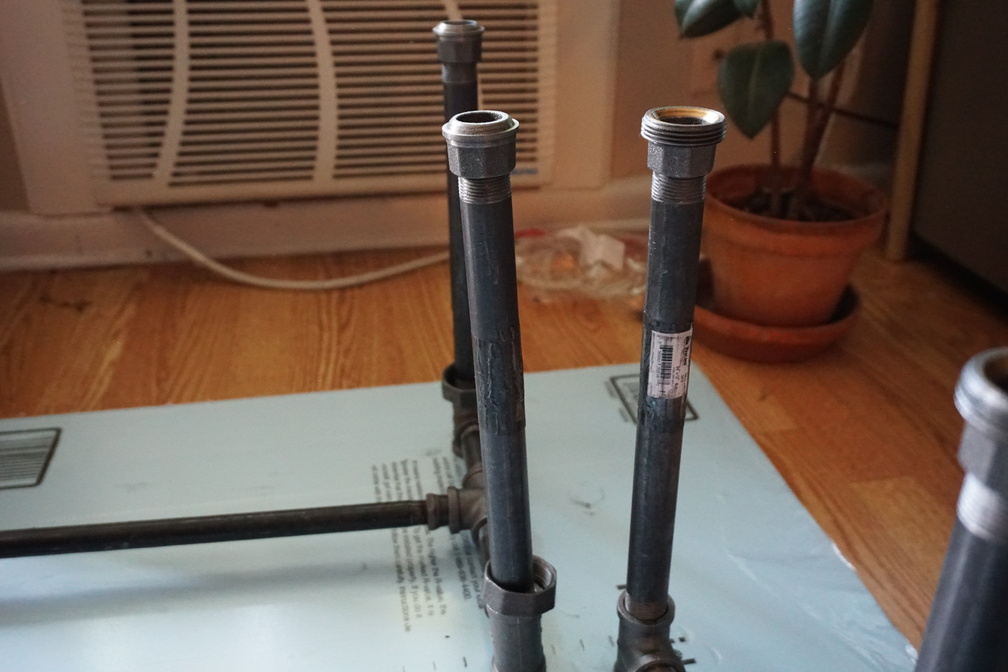
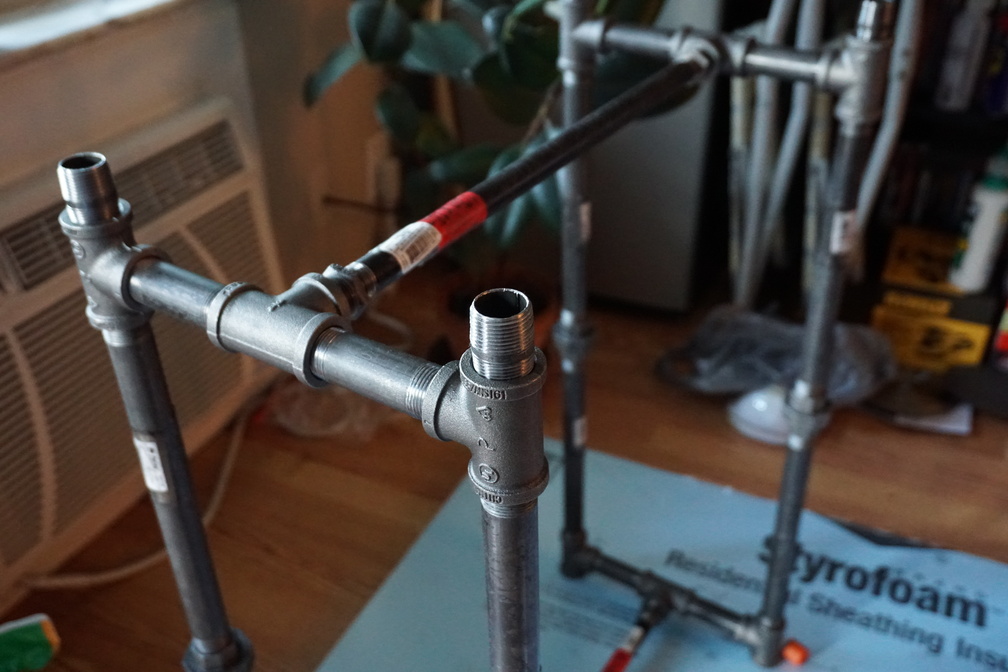
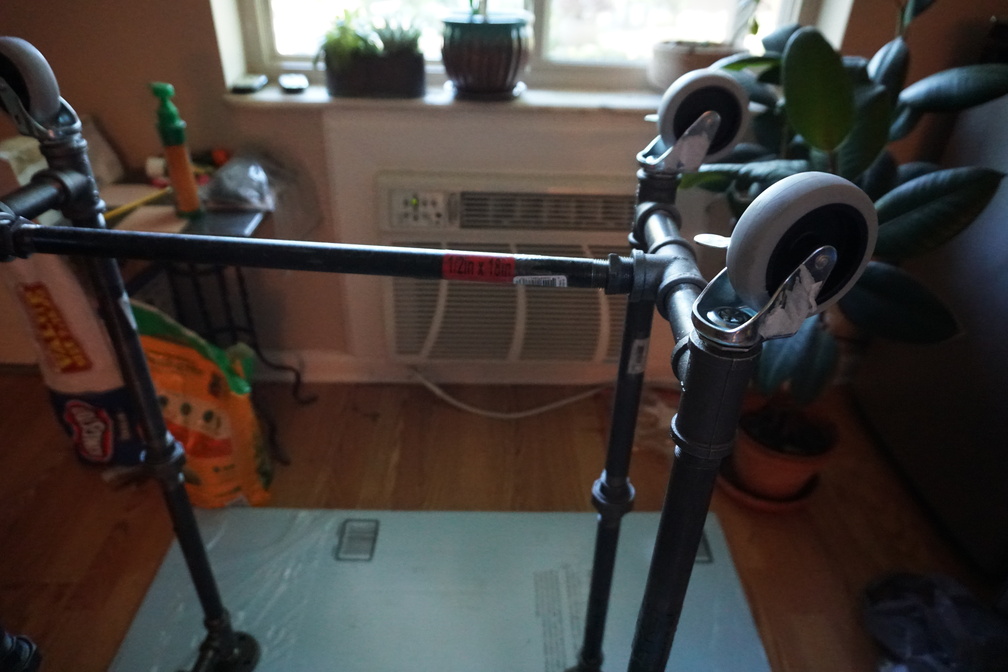
 I kept having to go back and ensure everything was parallel & screwed in the same. If they weren't, nothing would come together in later steps
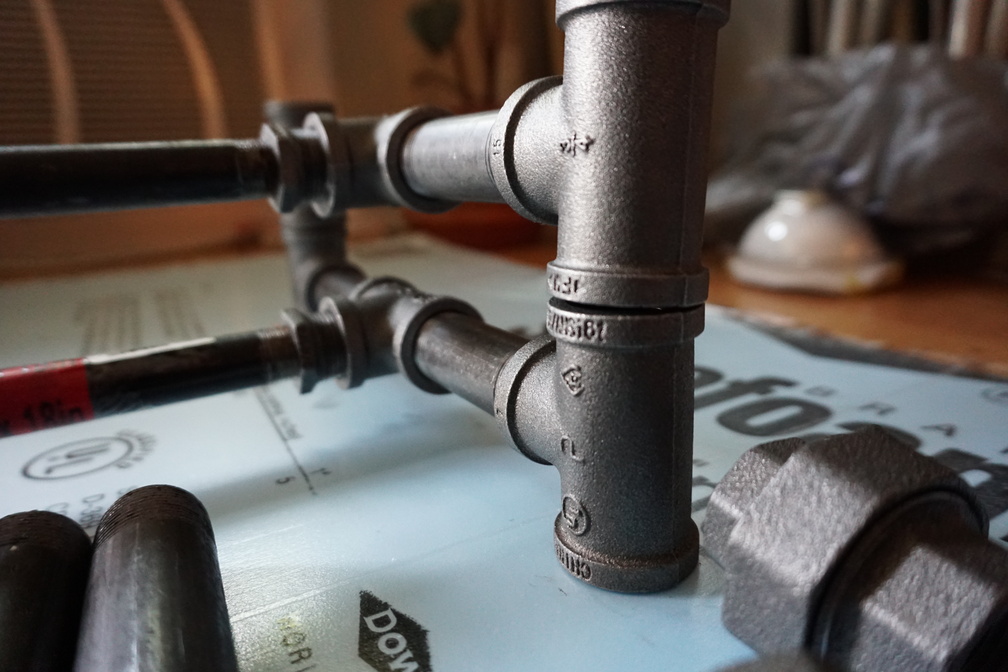
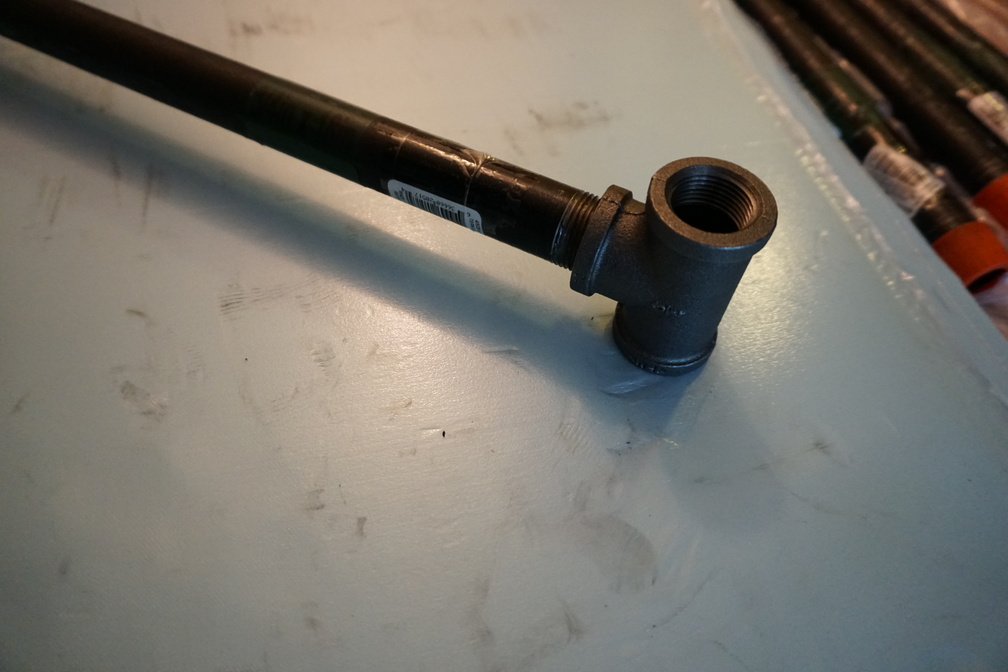
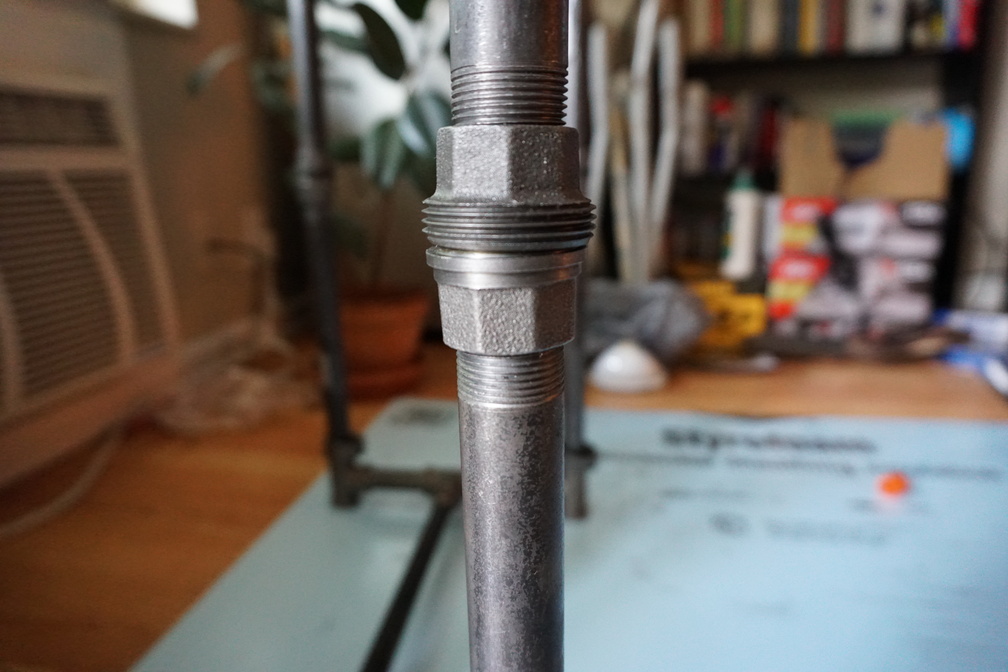
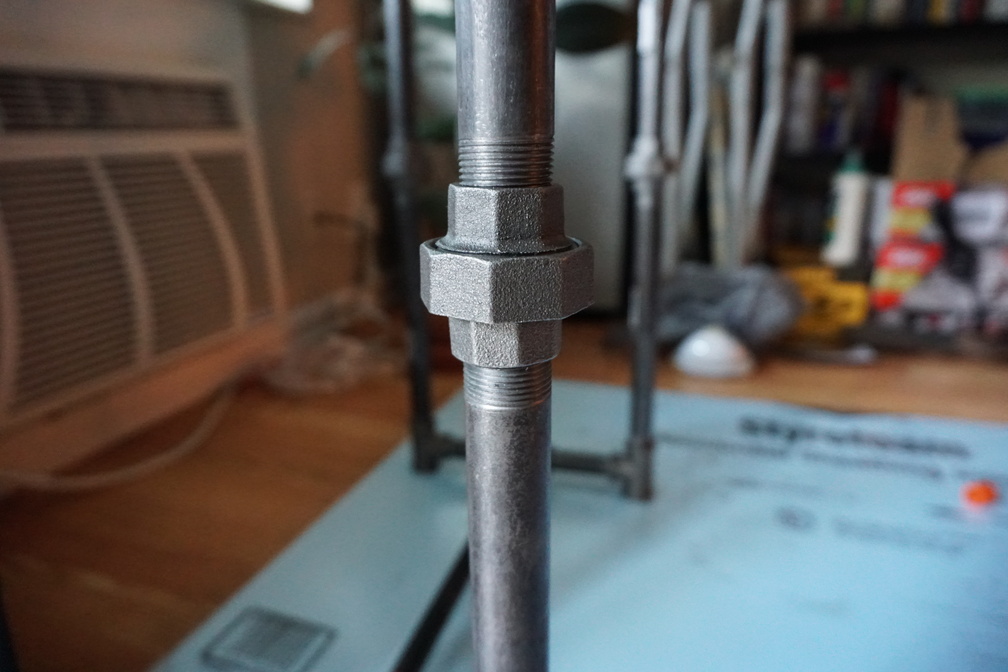
 It might be obvious to some, but at first I designed an impossible structure. There was no way to get everything to screw together if not for the union couplings
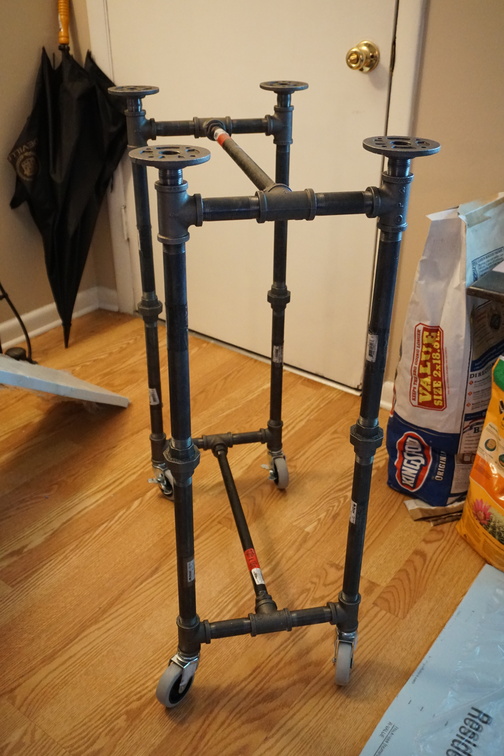
 The union couplings allowed me to build 2 identical top & bottom pieces of the frame and actually get it together. It did take me a few days to figure out these existed. Luckily I caught my impossible design in the planning stage and not after buying pipe
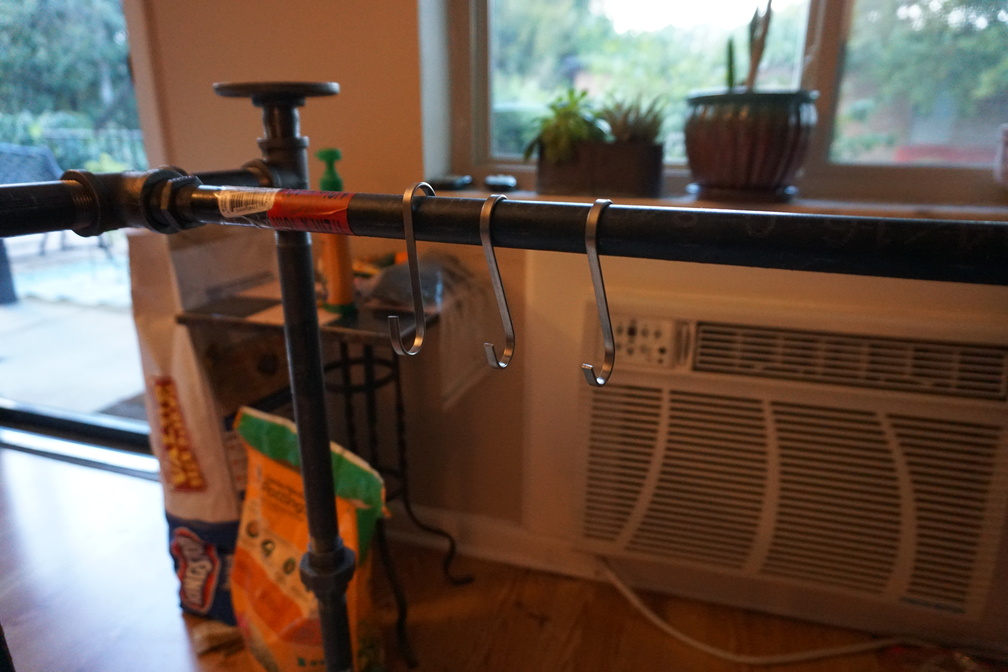 This was the main inspiration for this entire project: a way for me to hang my pans
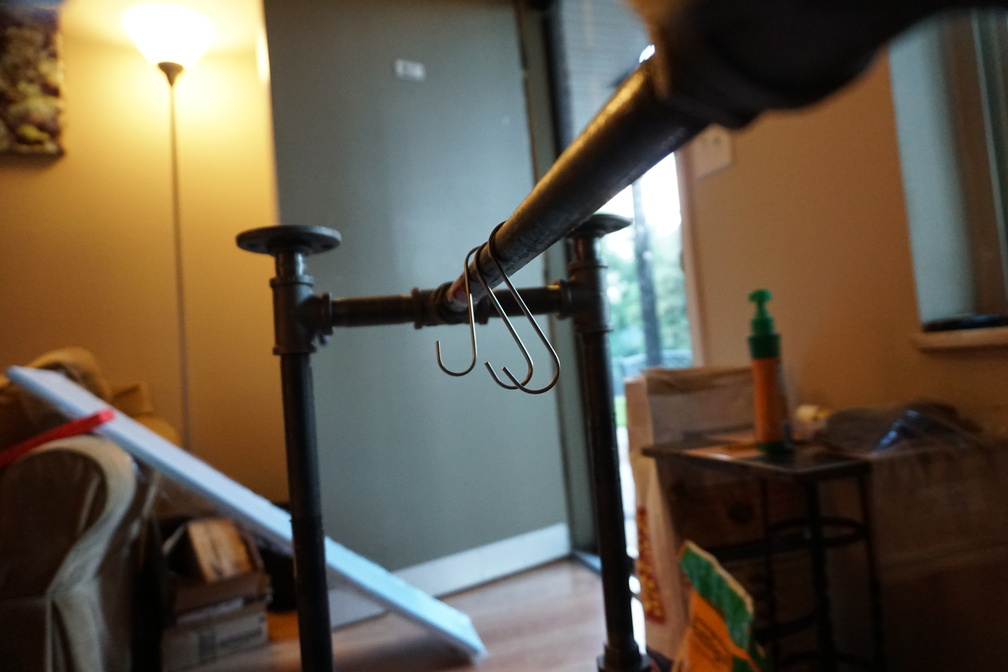 I couldn't find any S-hooks that were designed the way I needed them to be, or be large enough to fit into the holes in my pan handles, so I got these and figured I would try bending them 90 degrees
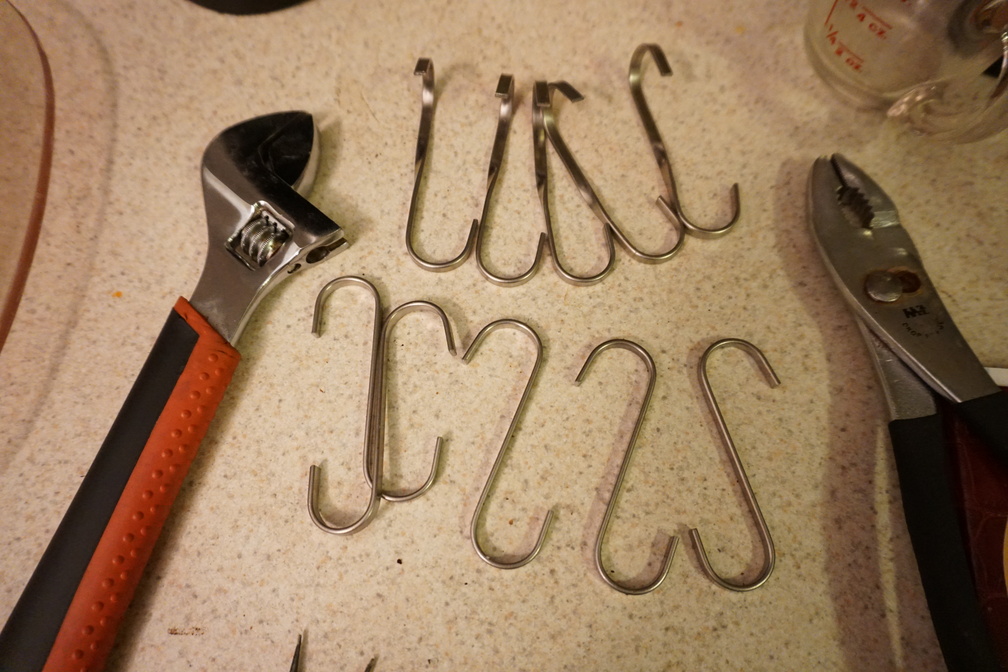
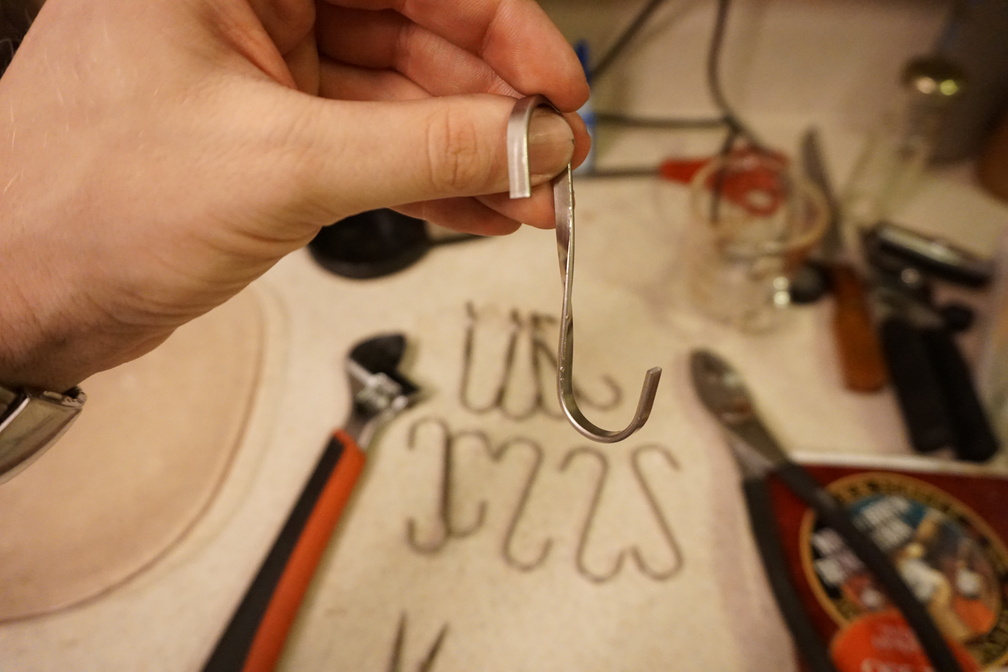 With 2 wrenches, this wasn't that difficult. I think they were even stainless steel
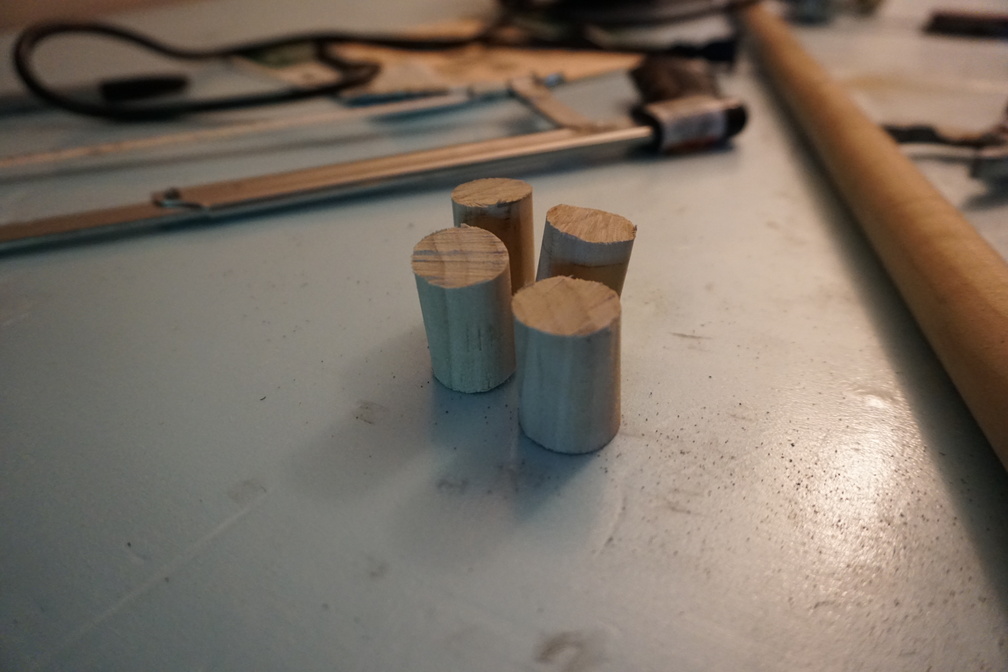
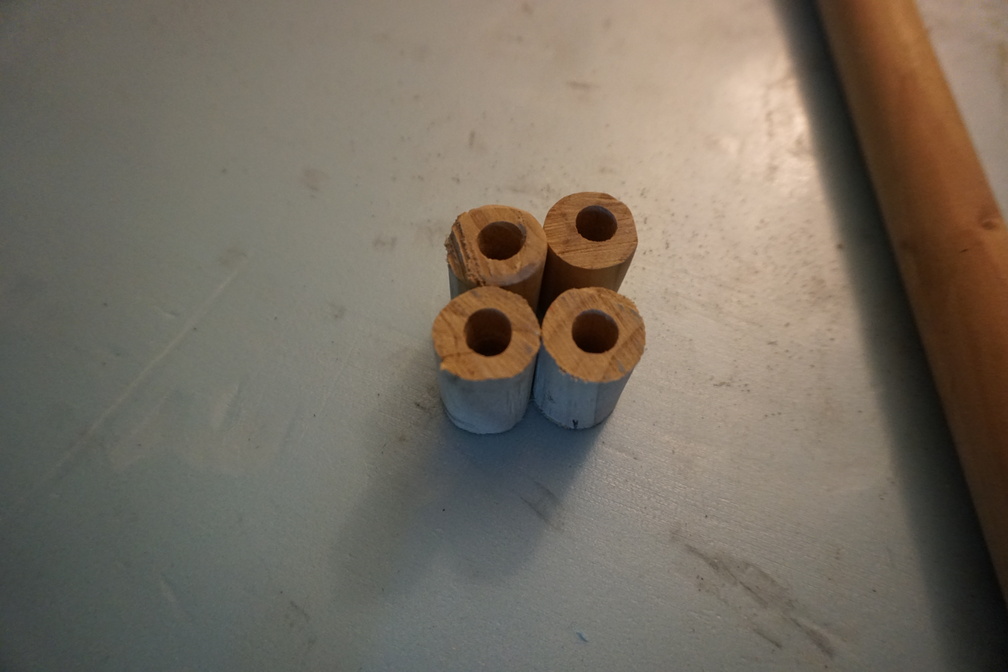
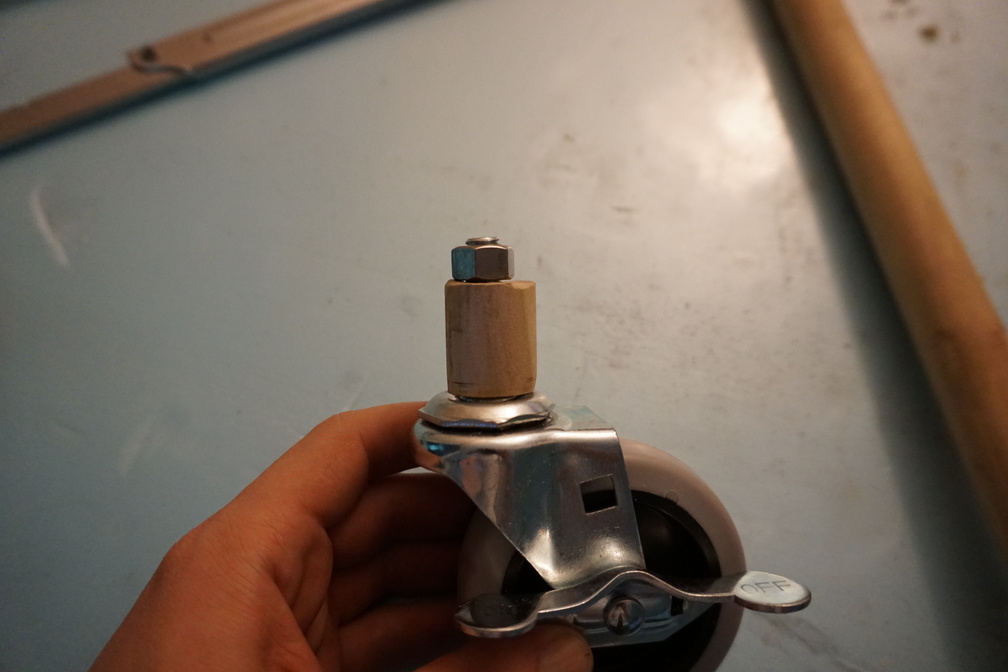
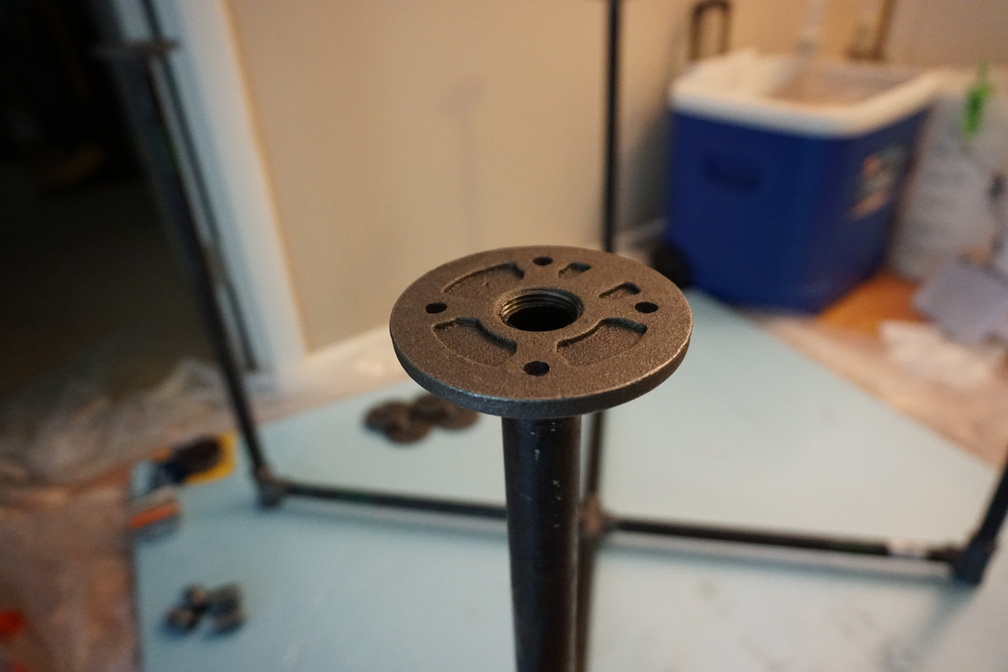
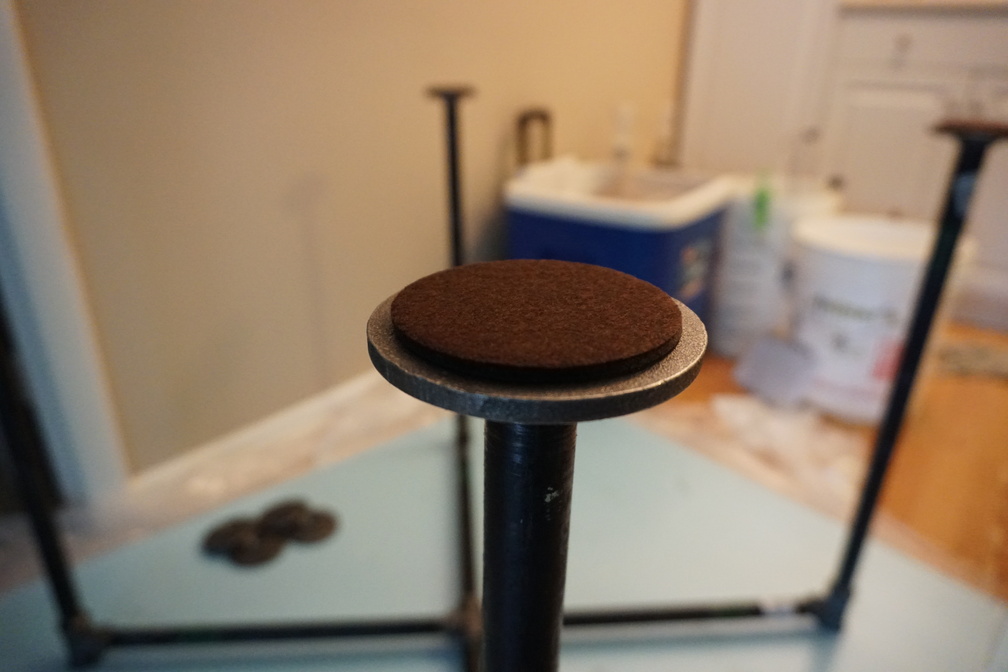
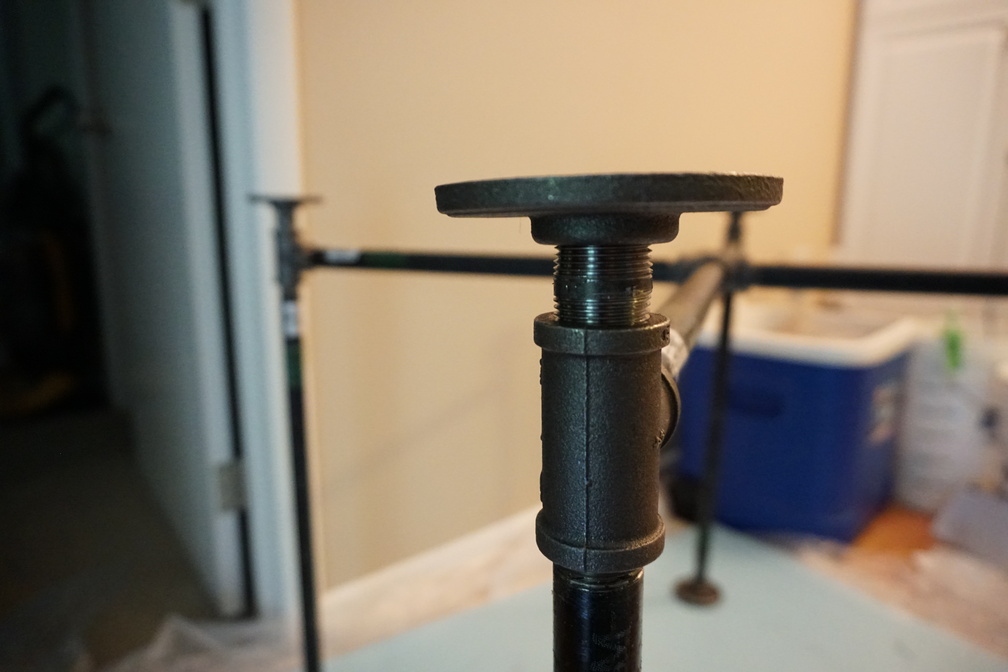
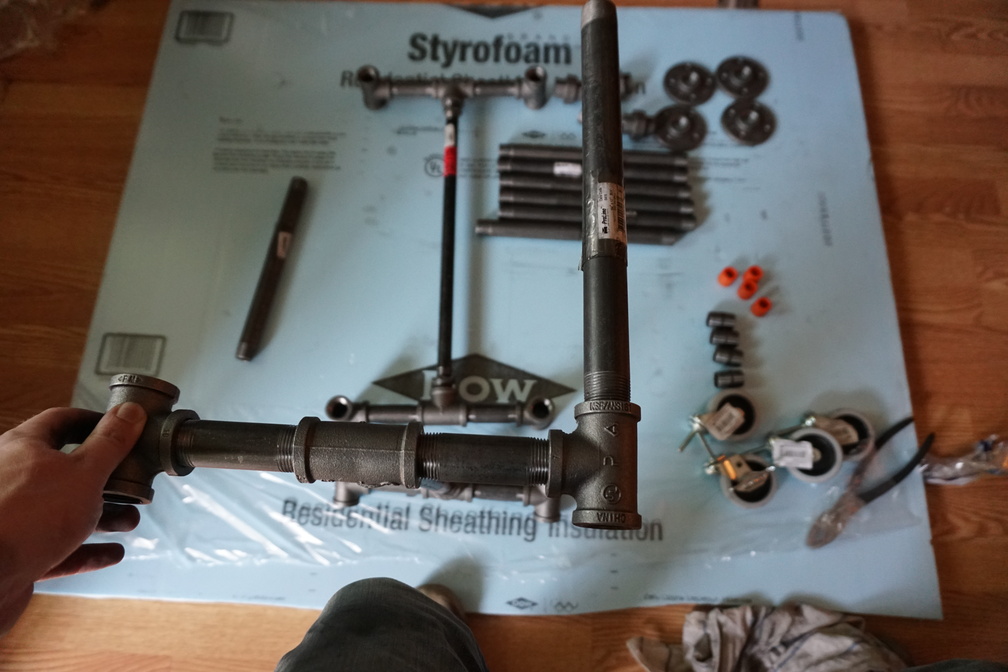
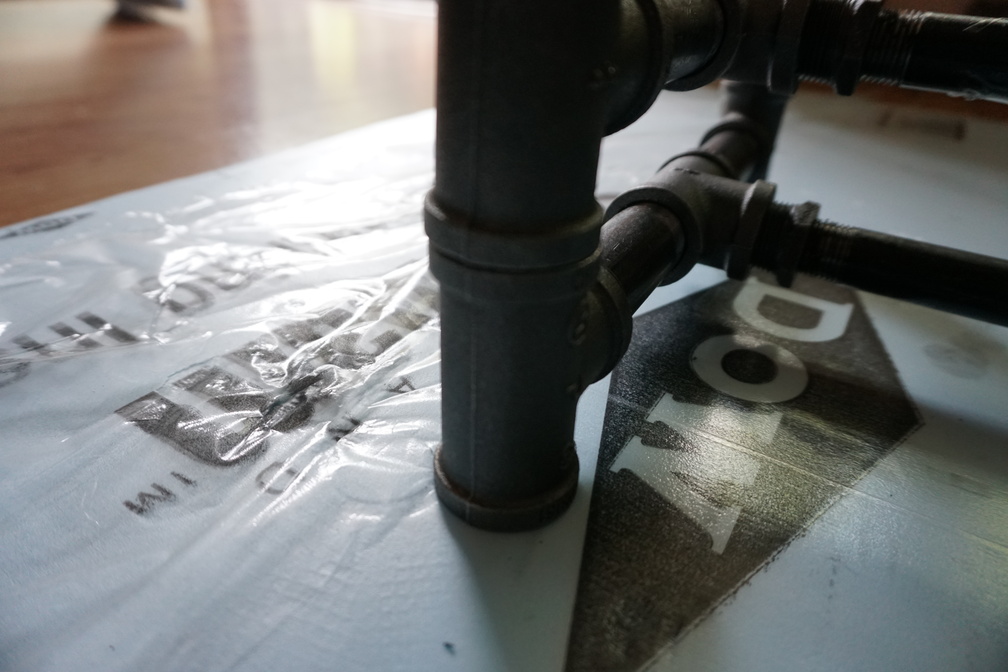
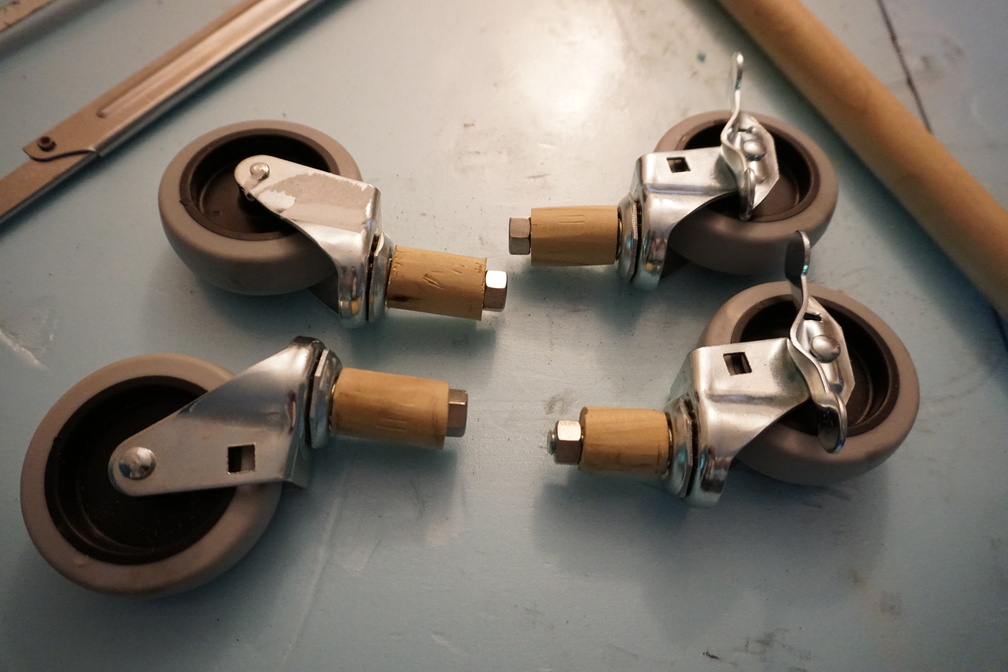
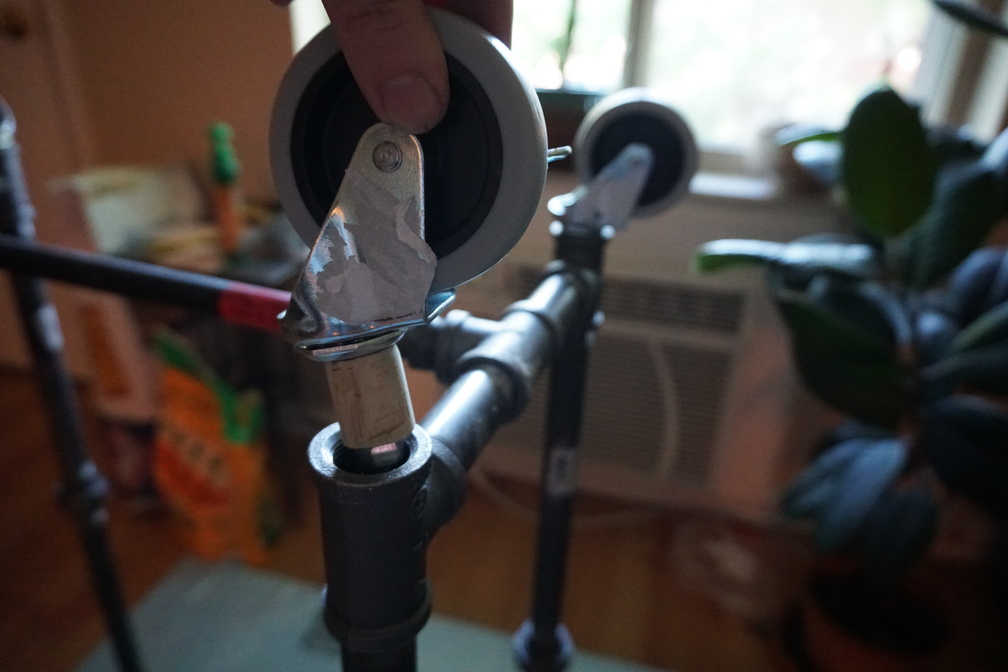
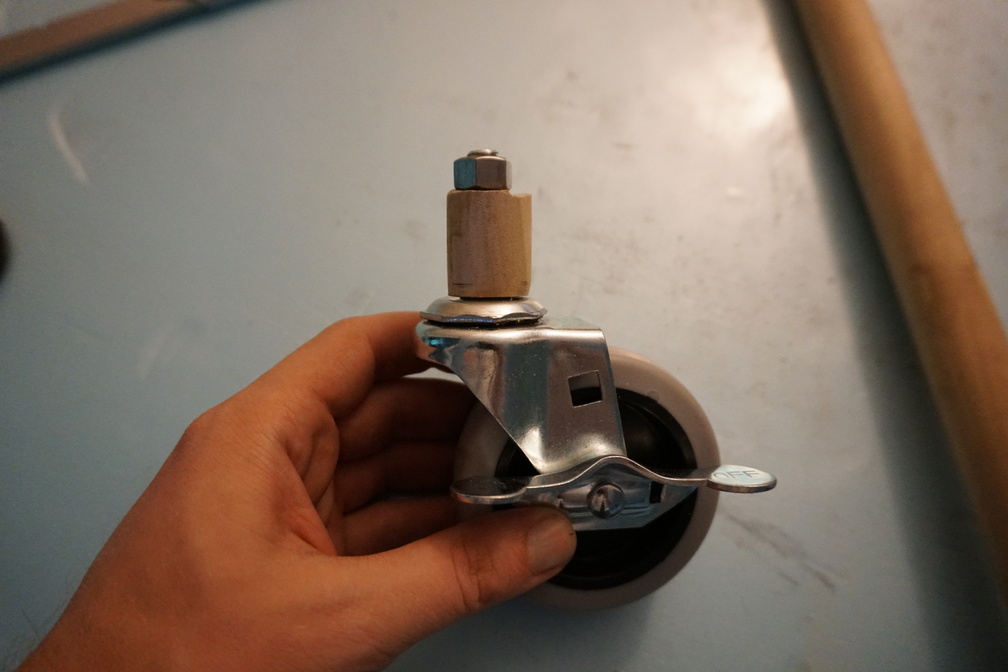 Here is a way I could adapt my casters to fit in the cavity of the pipe fittings while staying somewhat upright. I did have to replace the wood about a year or 2 later.
 I was so happy at this point, but I was slightly dreading that I had finally come to the point where I had to cut the wood
Cutting the Wood
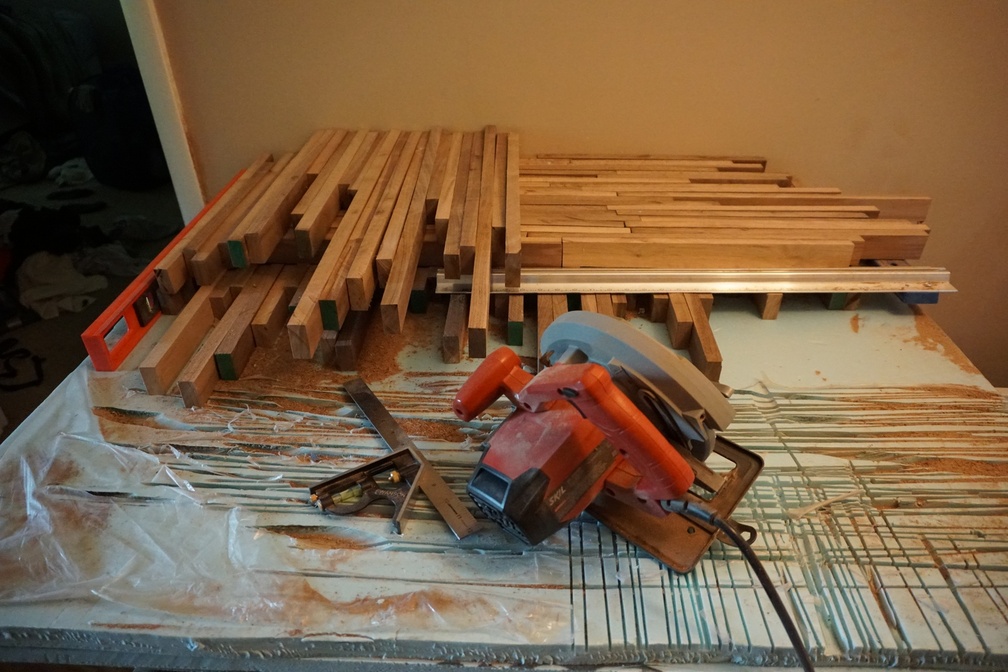
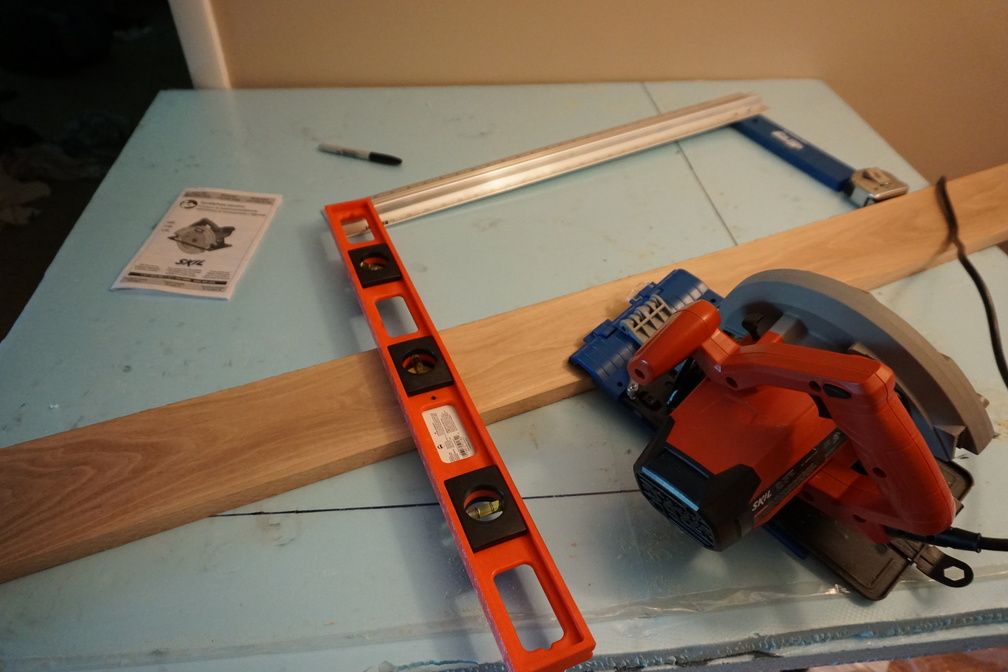 Yeah, a circular saw is all I could manage on a tight budget. That blue jig in the top right would serve as the rip fence for the rip cuts a few pictures down. I'm sure I committed some woodworking crime but it worked. Also thankfully, I lived between 2 hard of hearing elderly neighbors (or they were very nice and lied that they couldn't hear anything)
 I made some random chop cuts first so I had some experience with the saw before making the rip cuts, as well as making the rips a bit more manageable. Yes this was the first time I had ever used a powered saw let alone a circular saw. Circular saws still scare me to this day
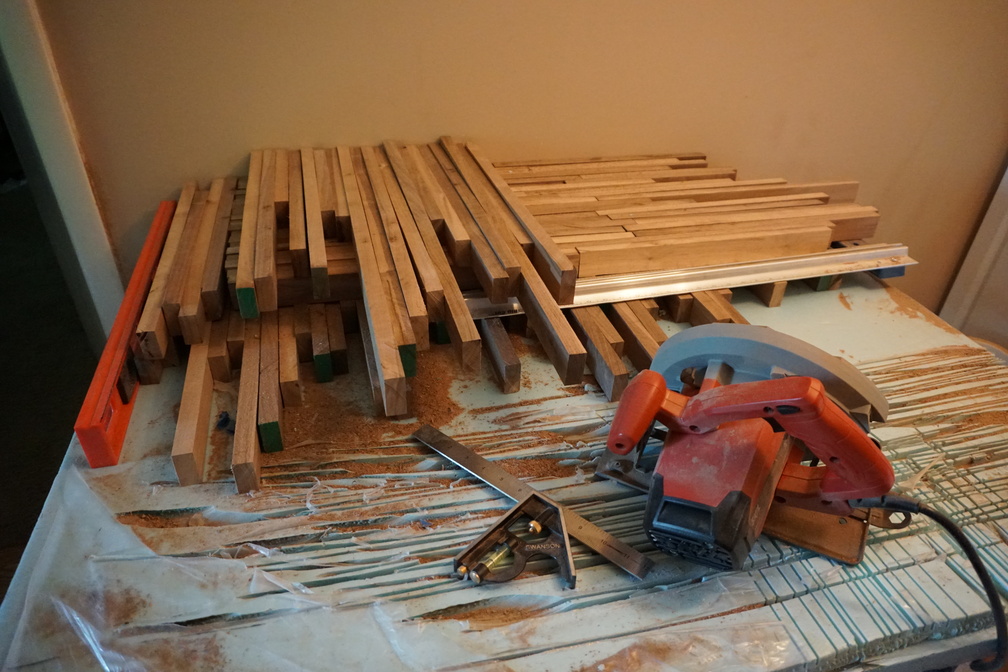
 Probably a lot of time passed between the previous picture and this one. I planned a bunch and psyched myself up to make the cuts.
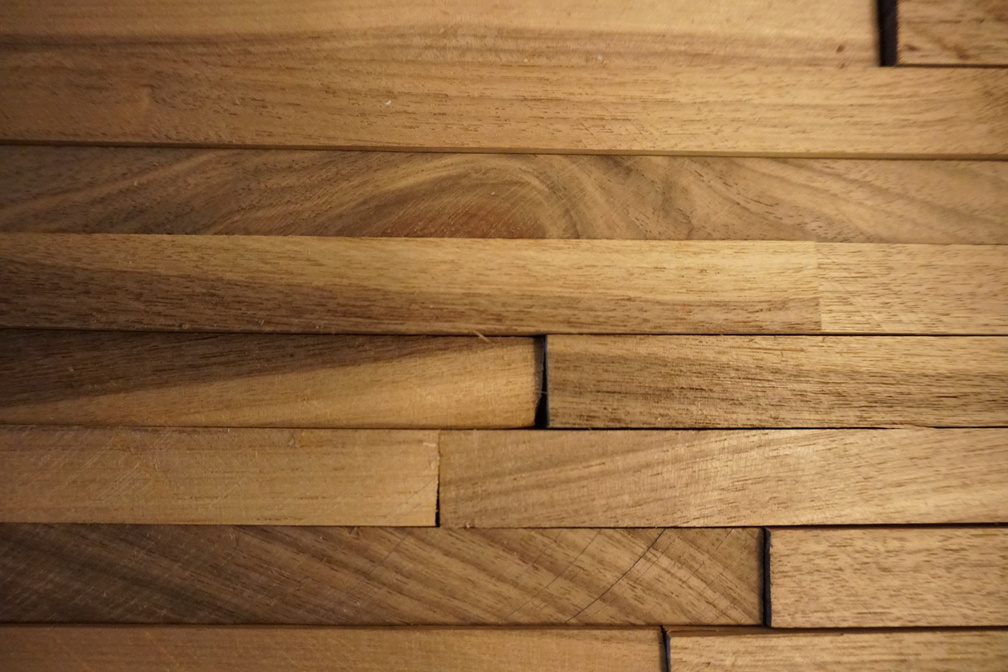
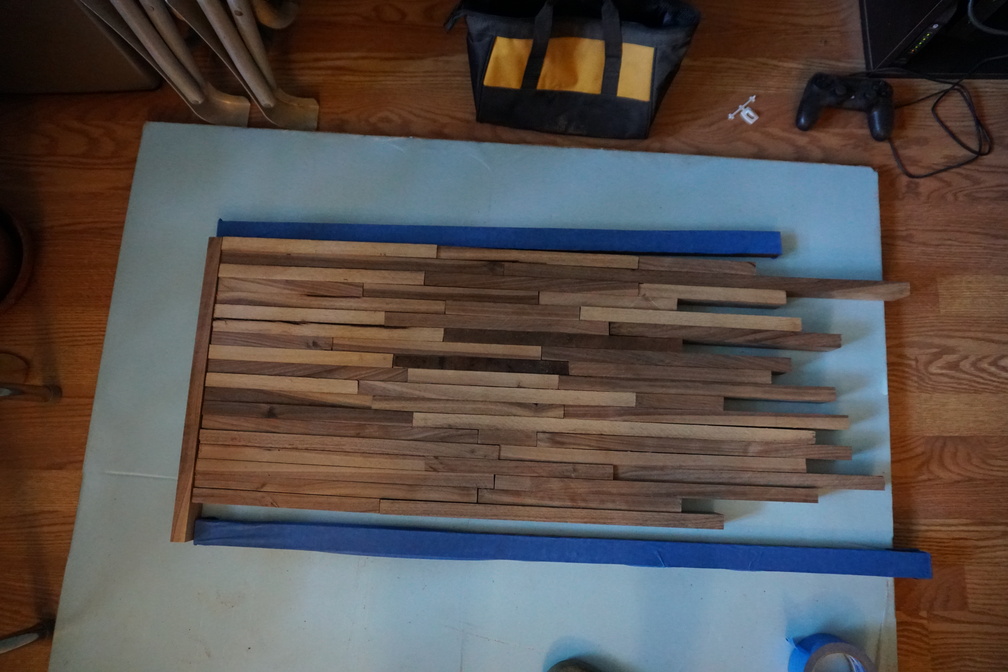
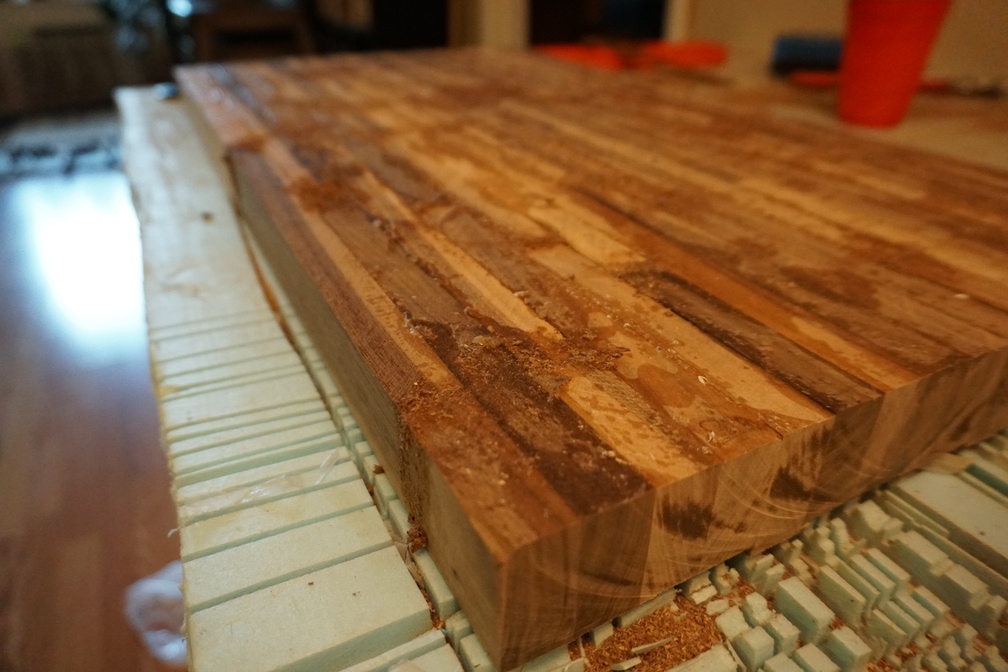
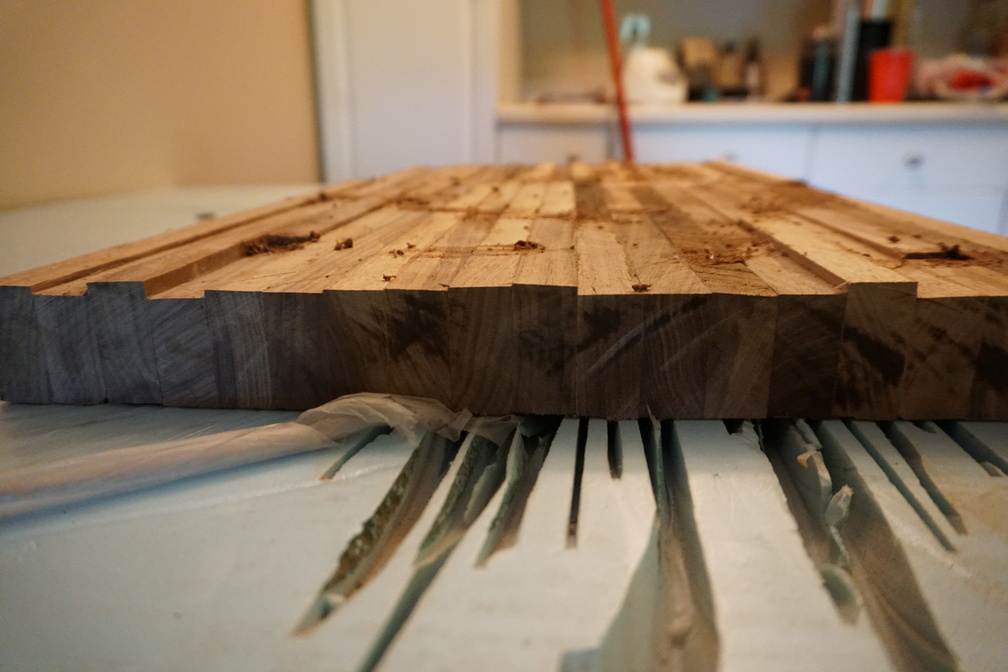
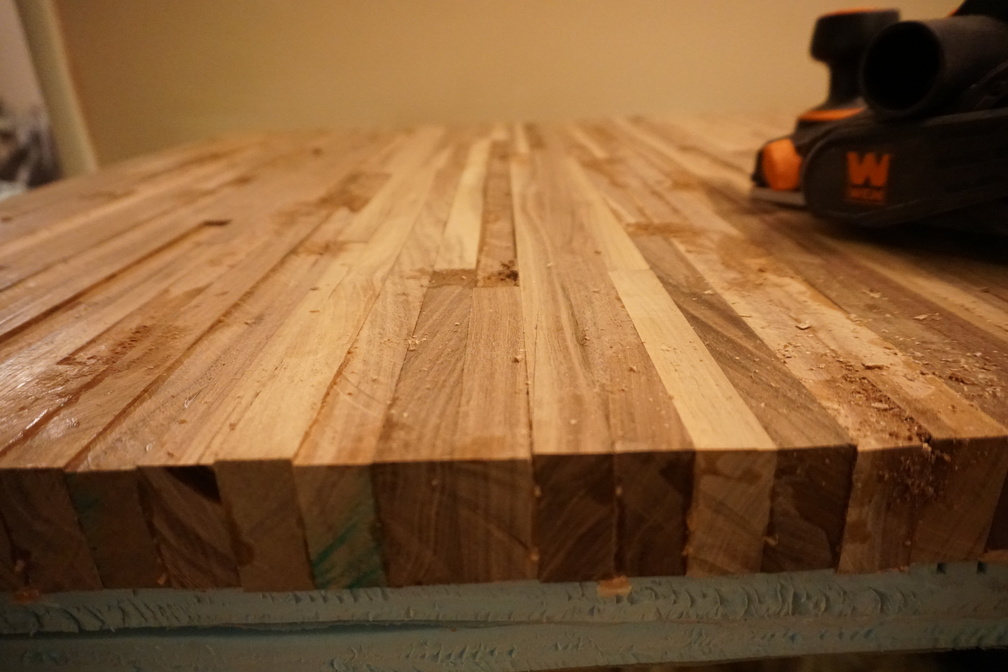
 I actually had the foresight to go with an edge-grain style butcher block style table. The main reason is that I knew the circular saw was not going to be very accurate with respect to the angle of the blade, which would make glue-up impossible if trying to glue 2 cuts together (which would be necessary in end-grain or face-grain cutting board aesthetics). By doing edge-grain, those inaccuracies wouldn't be glued to anything (here: facing up) and could be planed/sanded down.
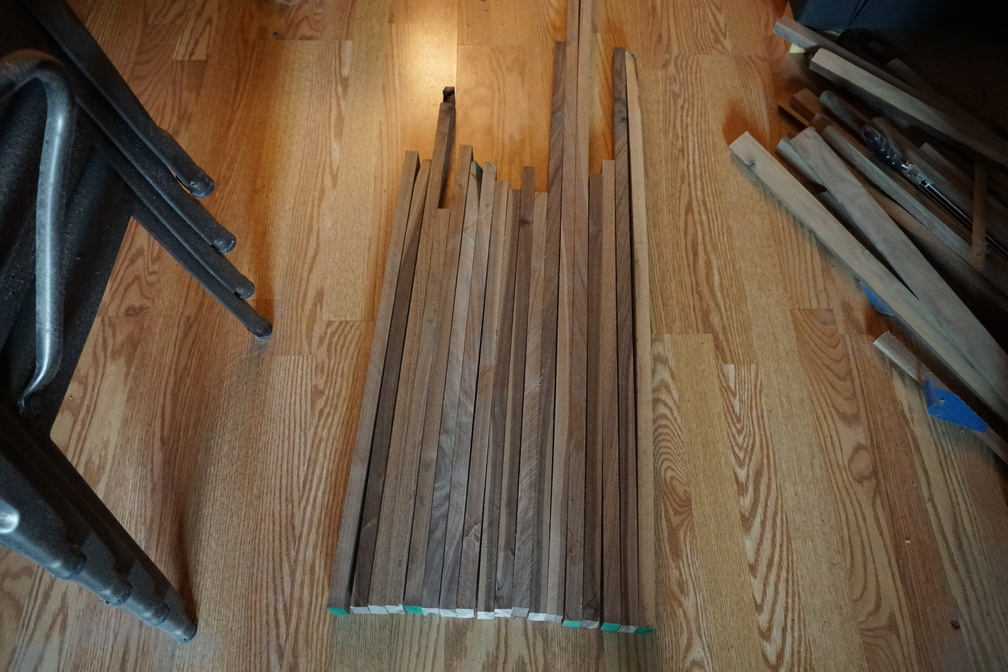
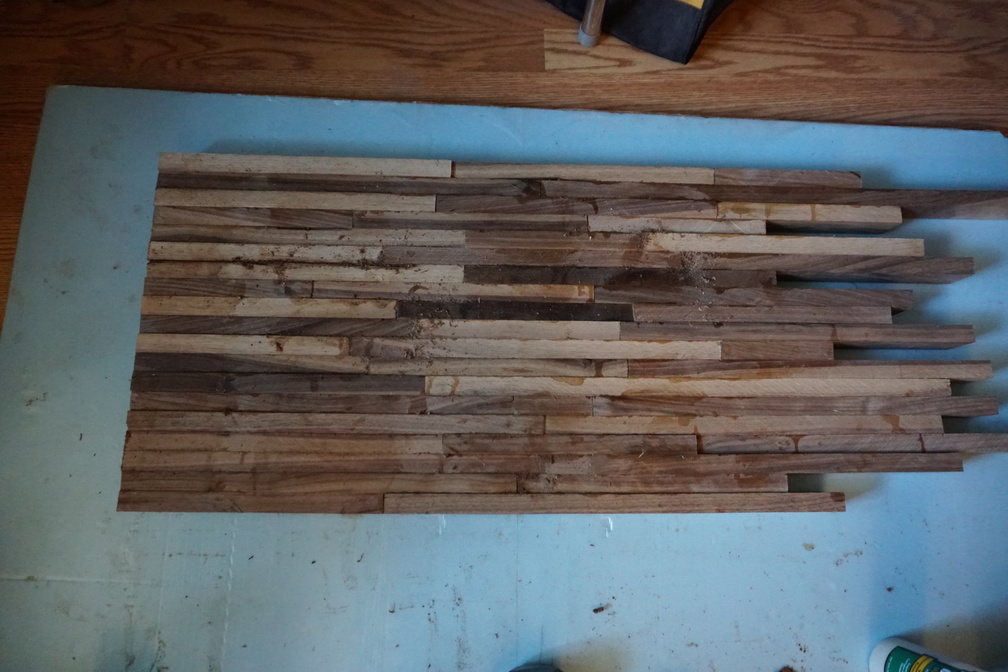
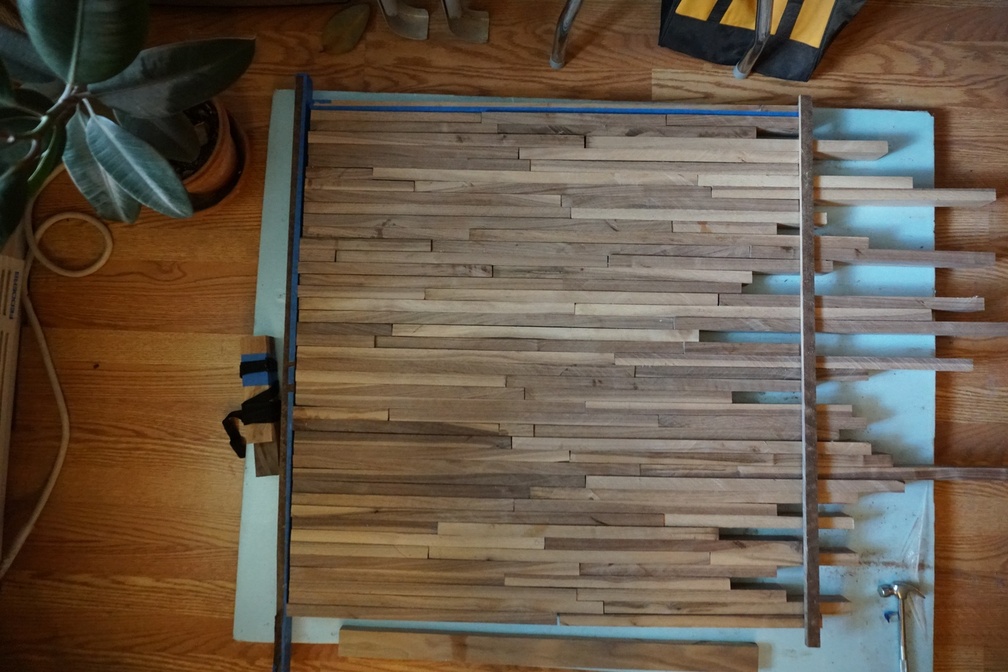
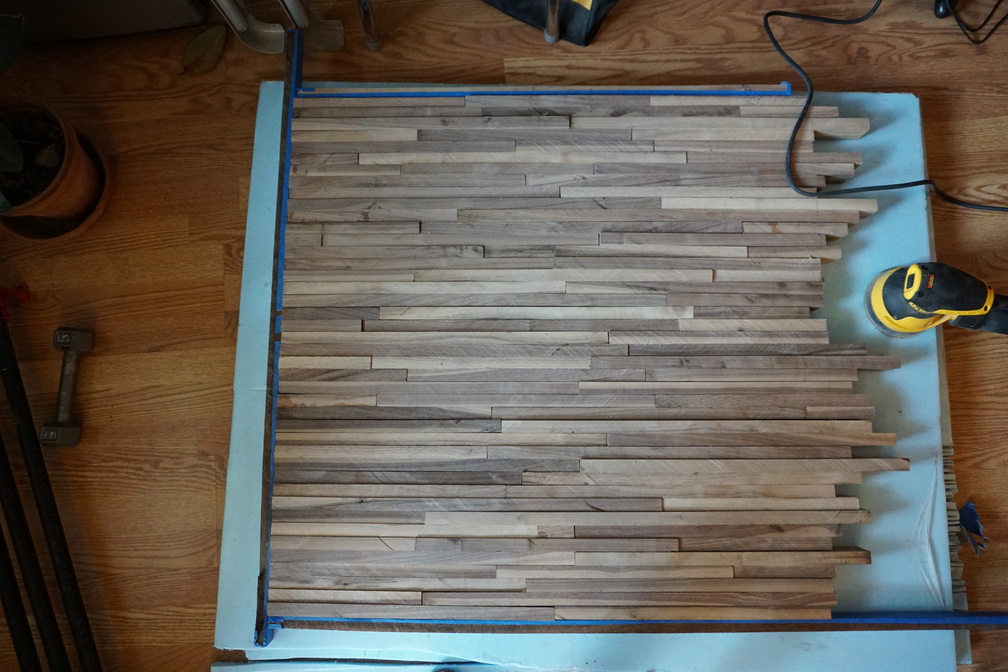
 After a lot of cutting to make the pieces random in length. I used the foam as a sacrificial cutting surface to minimize tear-out of the wood
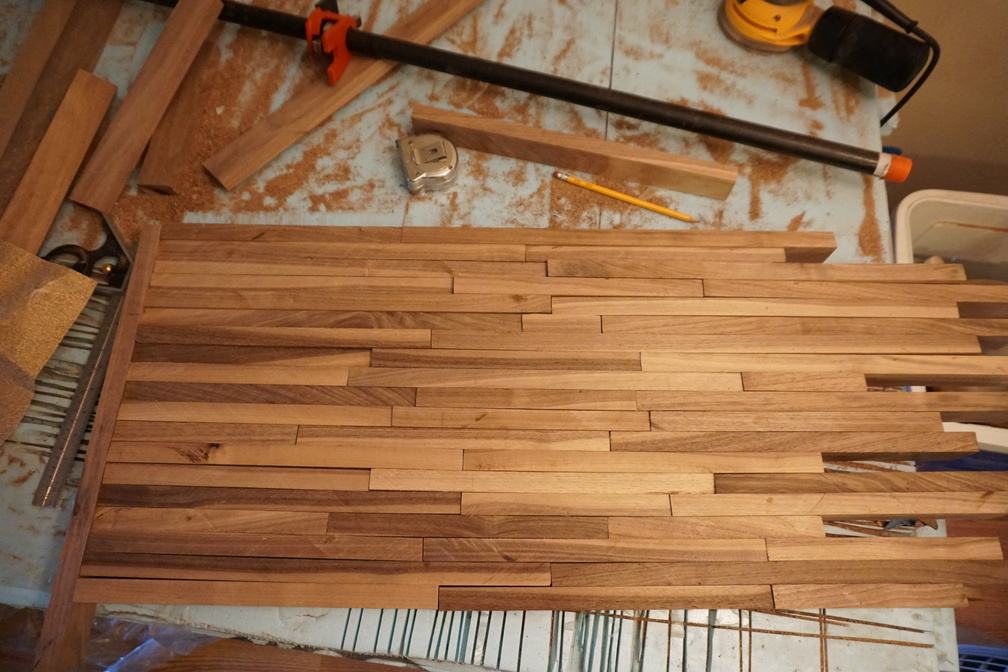
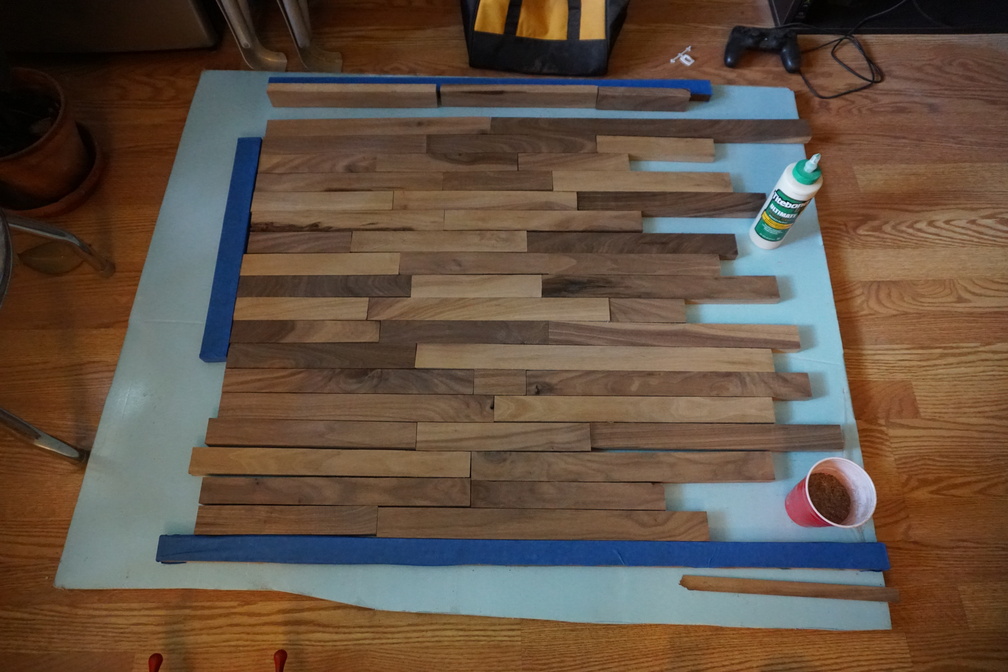
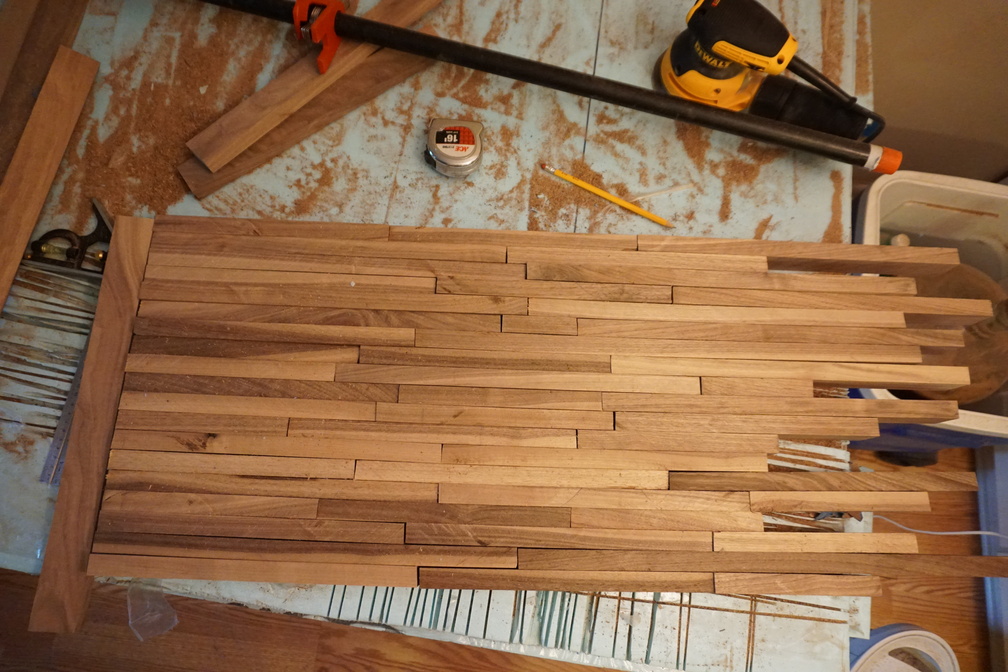 Here you can see the idea coming together a bit better
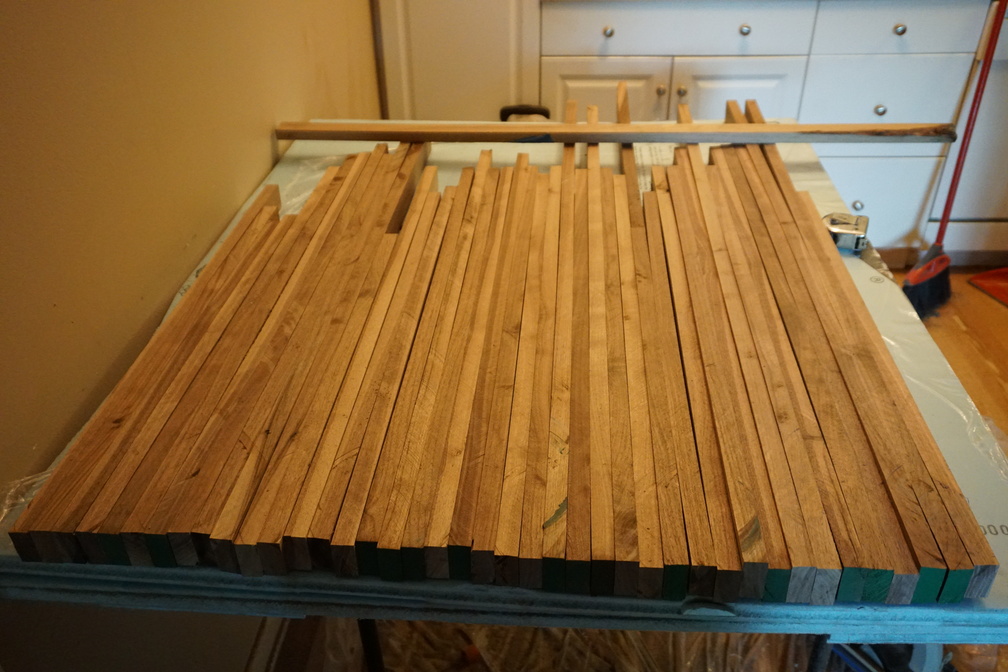
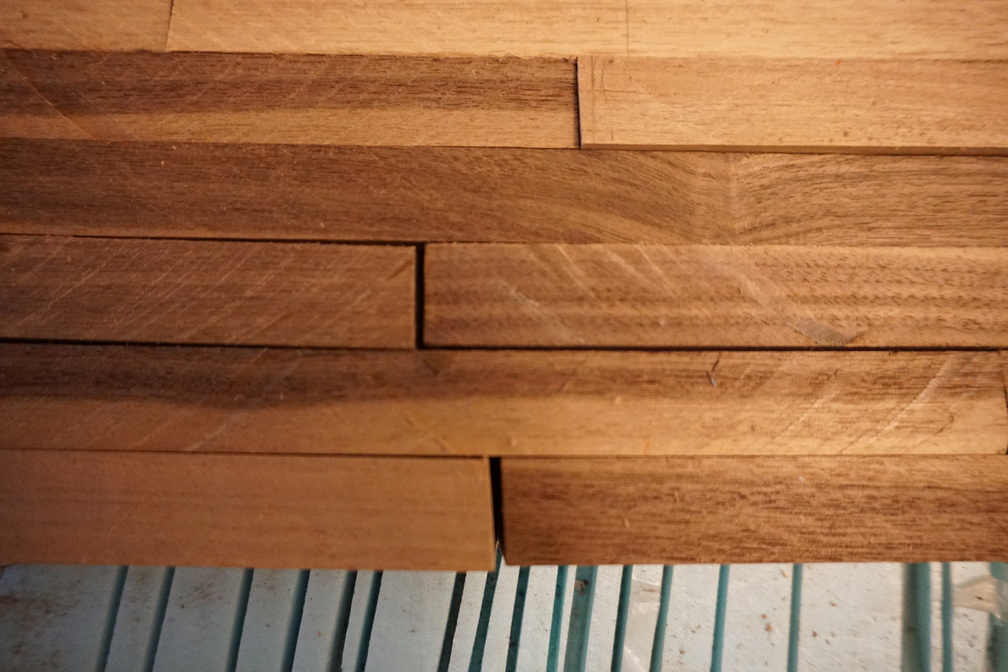 Well, this is what I get for using a circular saw. Inaccurate cuts means more time sanding the end grain and using wood filler
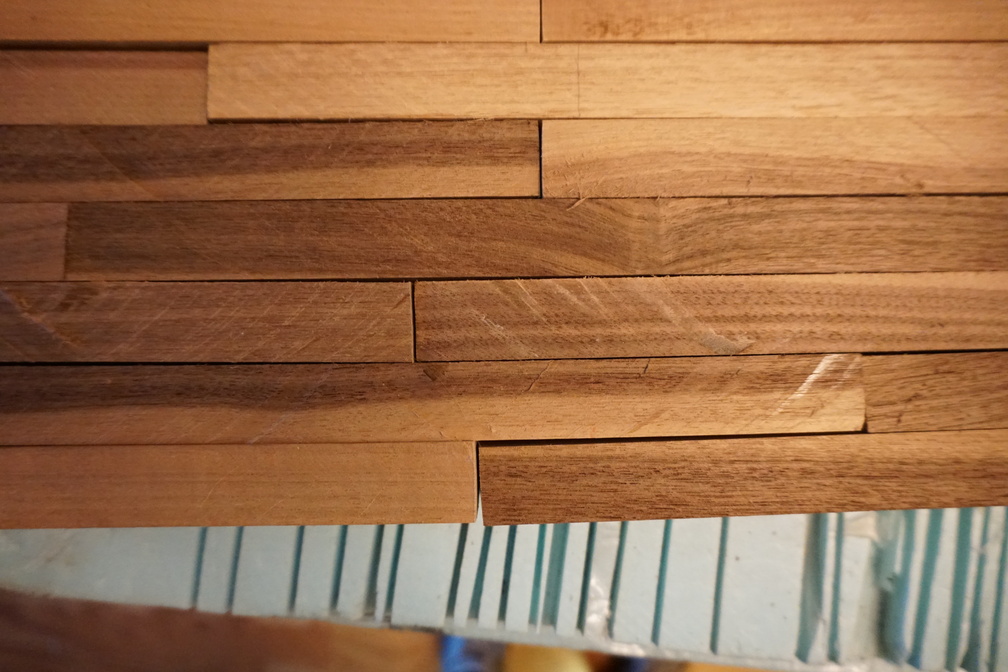 Progress. I can work with these smaller gaps
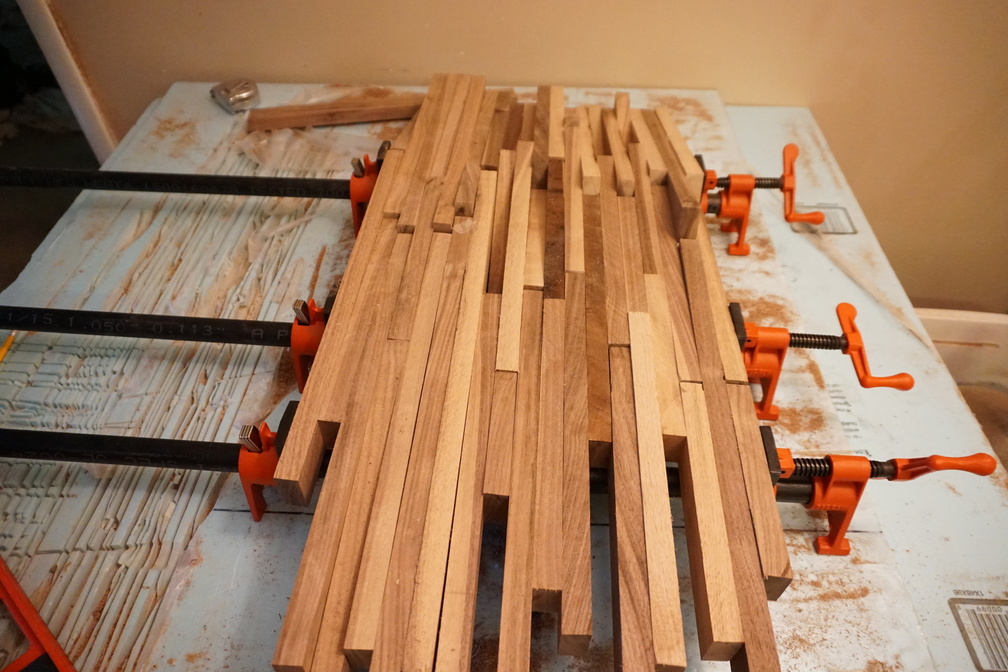 Failed clamping attempt. It's hammered-down knowledge to clamp from above and below a surface for symmetric clamping, but it was obvious here that I needed a flat surface to do my glue ups. I had to laugh as I had taken a lot of time planning what pieces looked best where. Oh well, laugh while you can
Glue-Up
Kitchen Cart Glue-Up
Doing the glue-up on the kitchen cart first so I had some practice on a smaller piece before doing the table glue-up
 Flipping the pieces for the glue-up
 Went very quickly and glued as fast as I could, but happy with the clamping at the end.
 Removed the piece to make everything flush on the left edge, cleaned up as much excess glue as I could, and left it clamped overnight
 Eek
Eek
 I stupidly took the time to make and apply wood filler, which was all going to come off after planing/sanding, so don't do that until after you've planed
 Cut off the excess overhang. I probably should have trimmed the pieces individually most of the way so they would be more usable, but I managed to use all the off cuts for other cutting board projects later
 Leaving this for now until I have my table glued up
Table Glue-Up
 Marking off how much more wood I needed to make my table 36" square
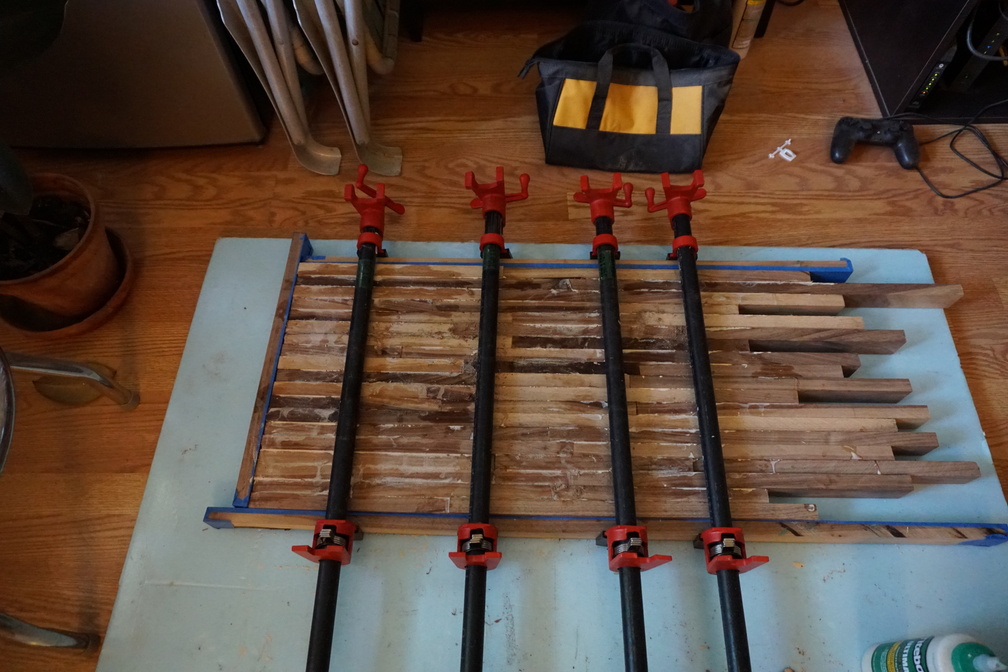
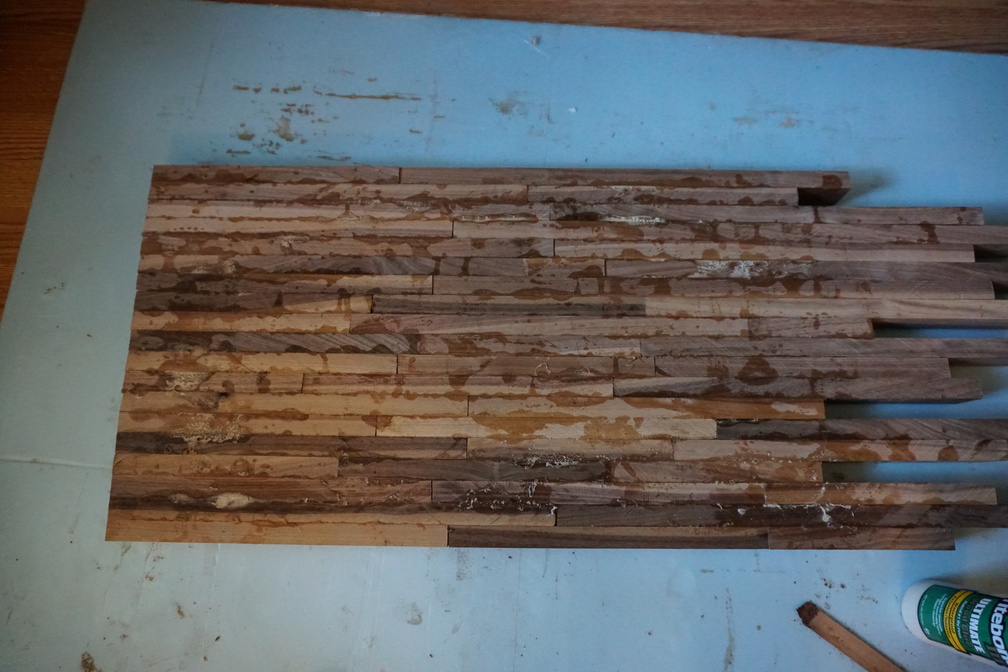
 After a lot of rearranging, I ran out of excuses and went for the glue up
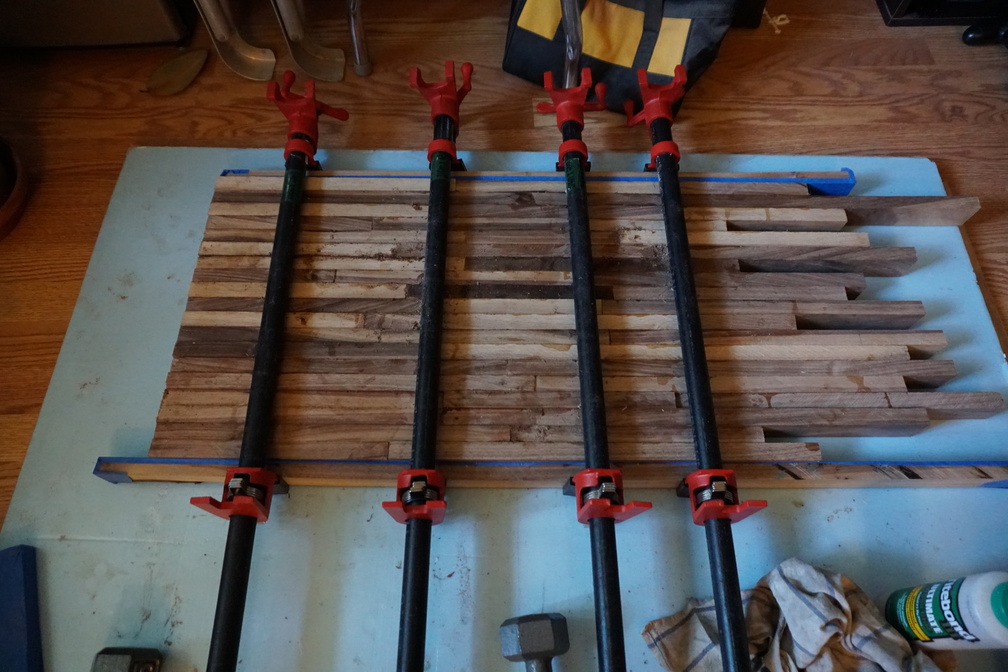
 In retrospect, I should have done this glue-up in 2-4 separate sections. Gluing a 1ft width section at least until the glue was tacky would have given me a much better glue-up and a ton less stress. You can see the hammer I had to use to bang the pieces together to minimize gaps. Don't do what I did if you recreate this project
Sanding, Wood Fill, Planing, and More Sanding
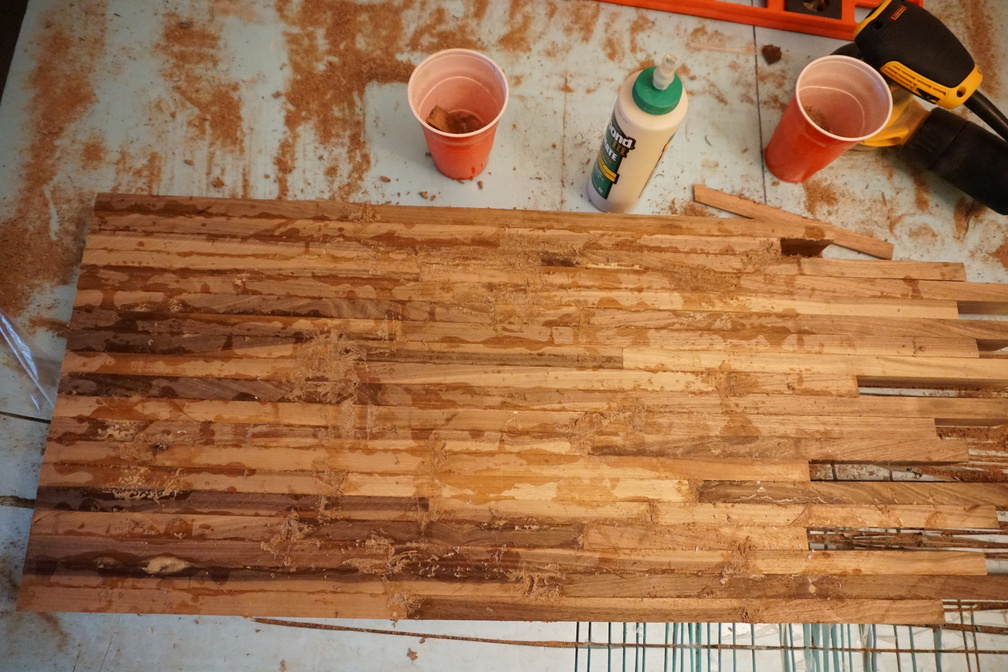
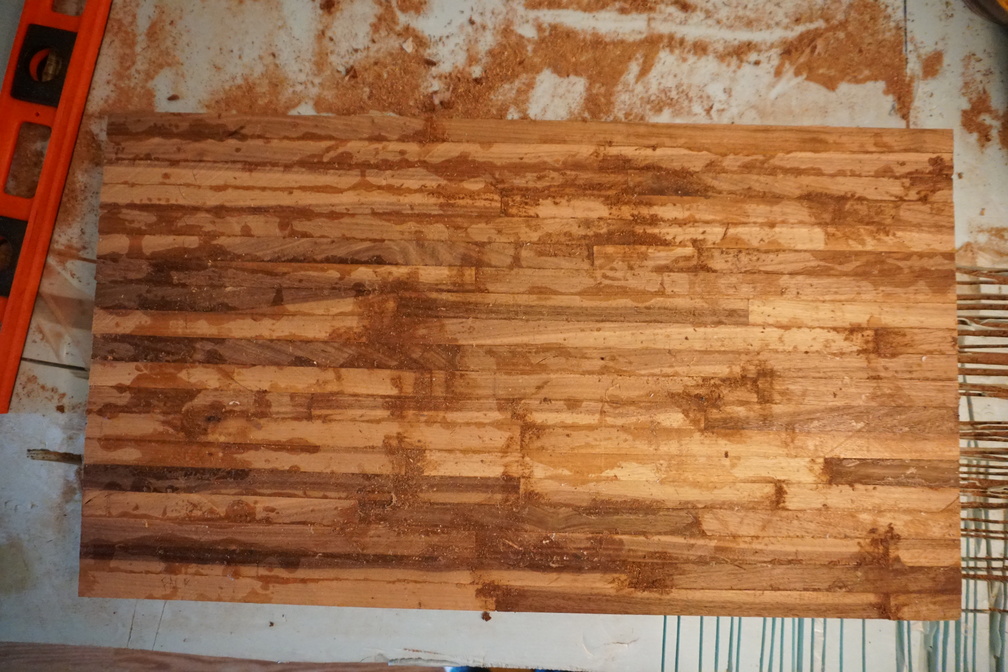
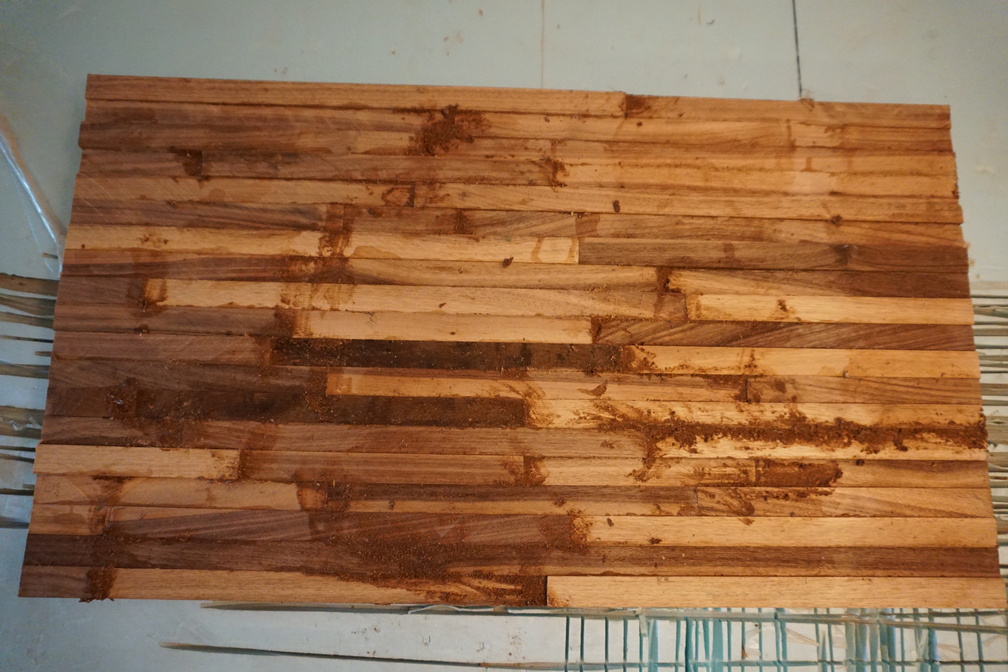 To make wood filler, you take sawdust from sanding and mix it with glue, then smear it into any gaps. Again, I did this first one too early in the process, but at least I had practice
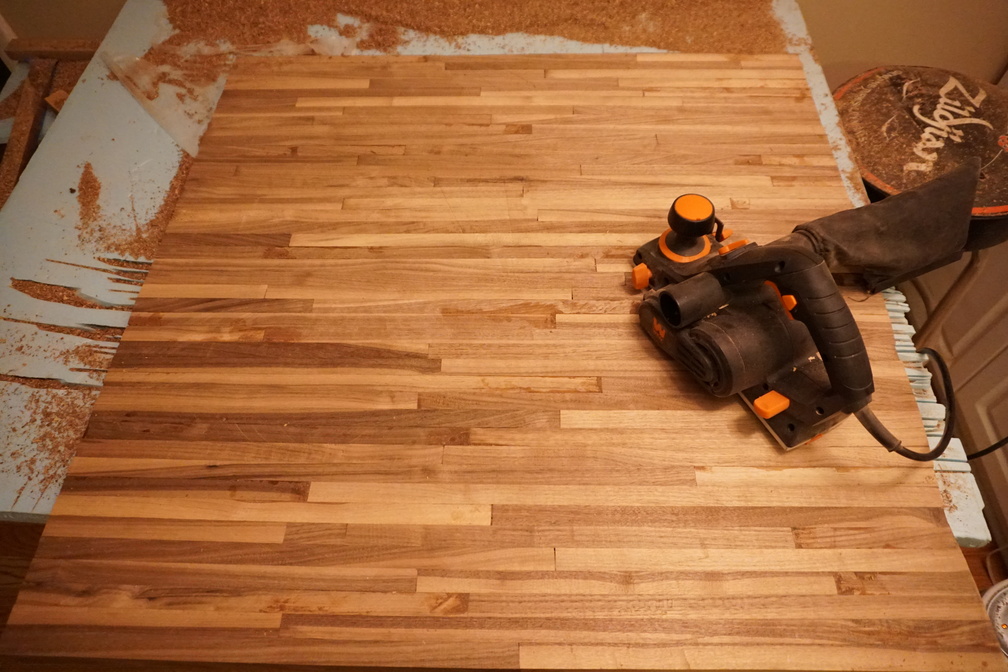
 Here you can really see the issues with using a circular saw for the rip cuts. This all needs to be sanded down. At this point, my parents pitied me knowing how much sanding this would take and bought me a hand-held planer. Thanks Mom and Dad!
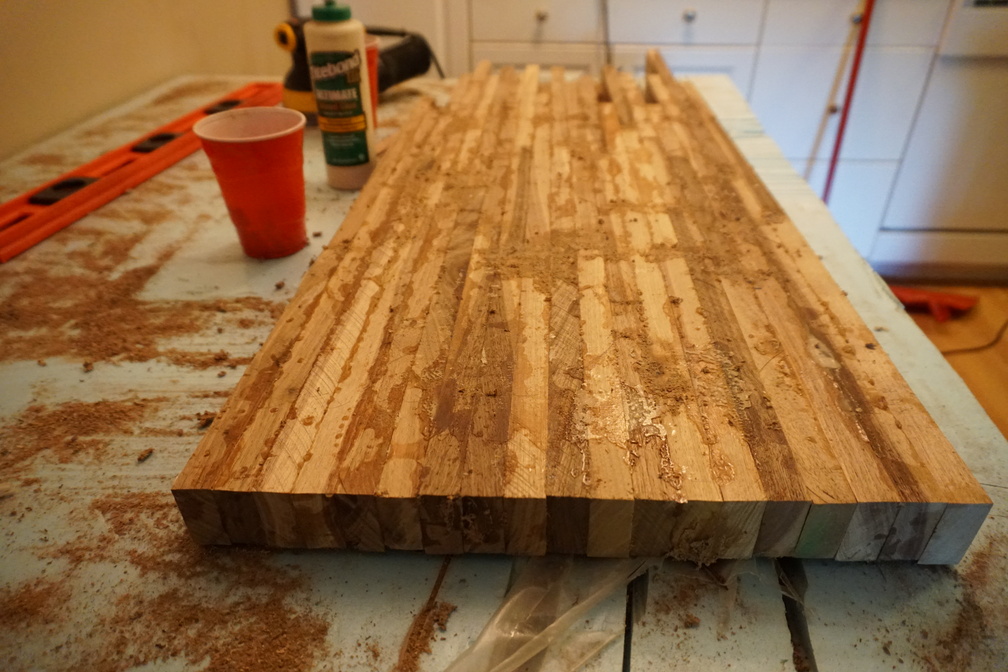
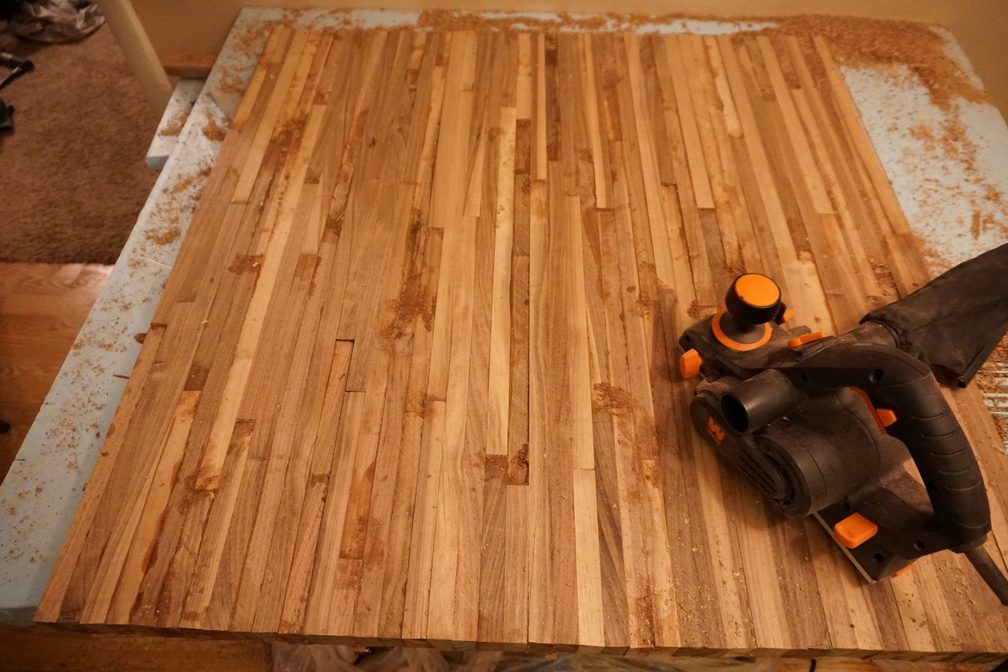 I started off timidly, but learned to love this little planer
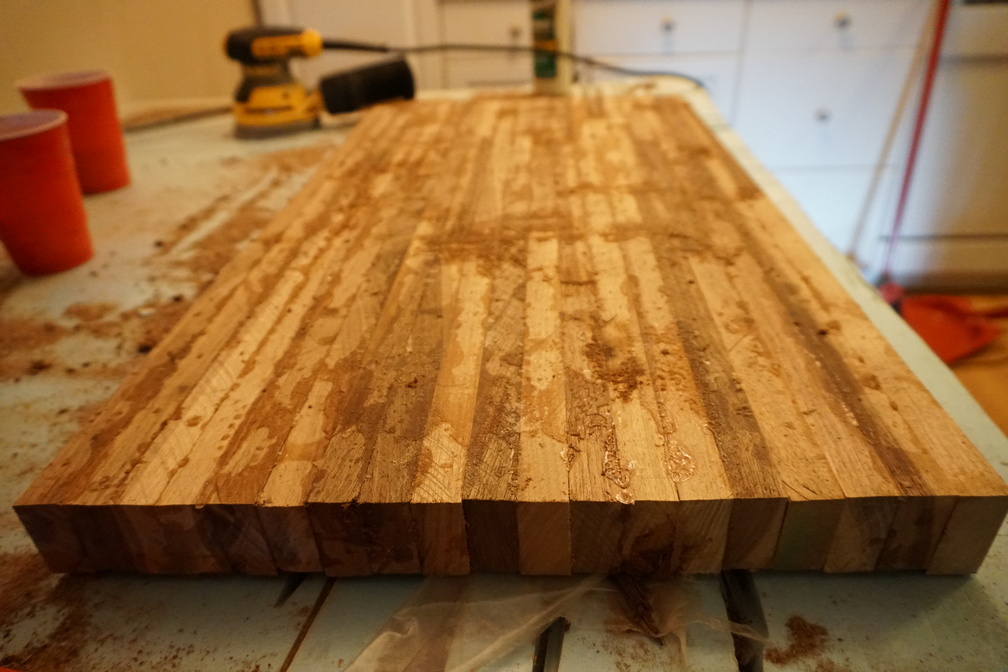
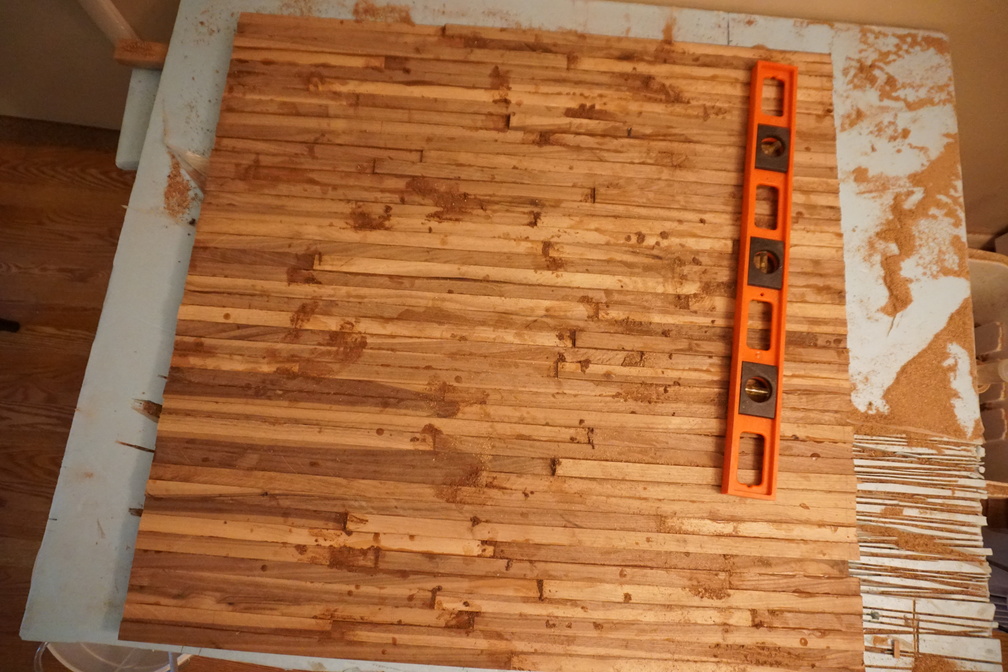
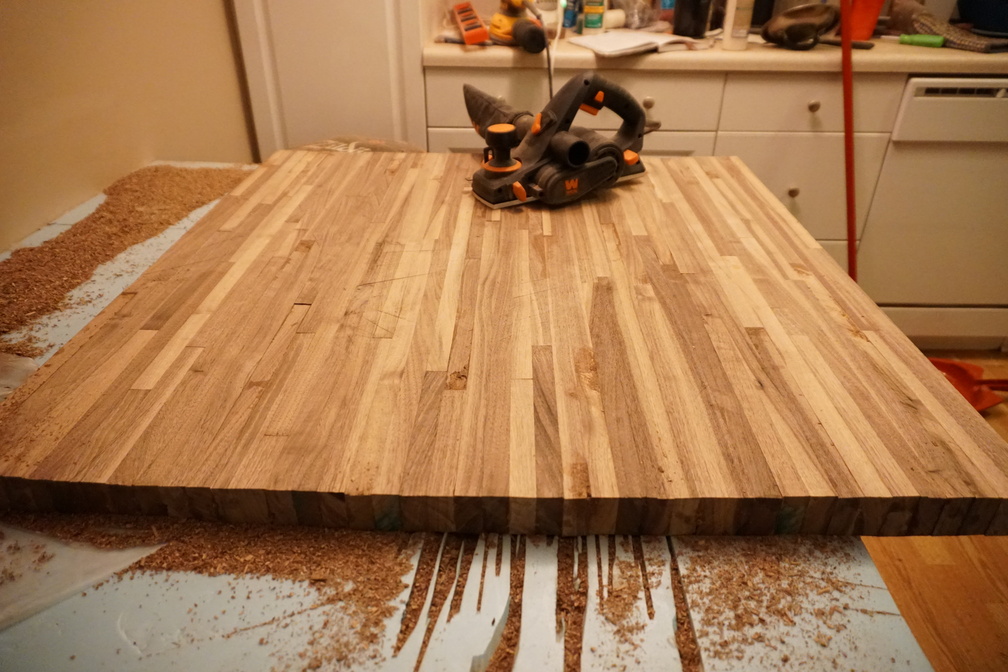
 Much better already
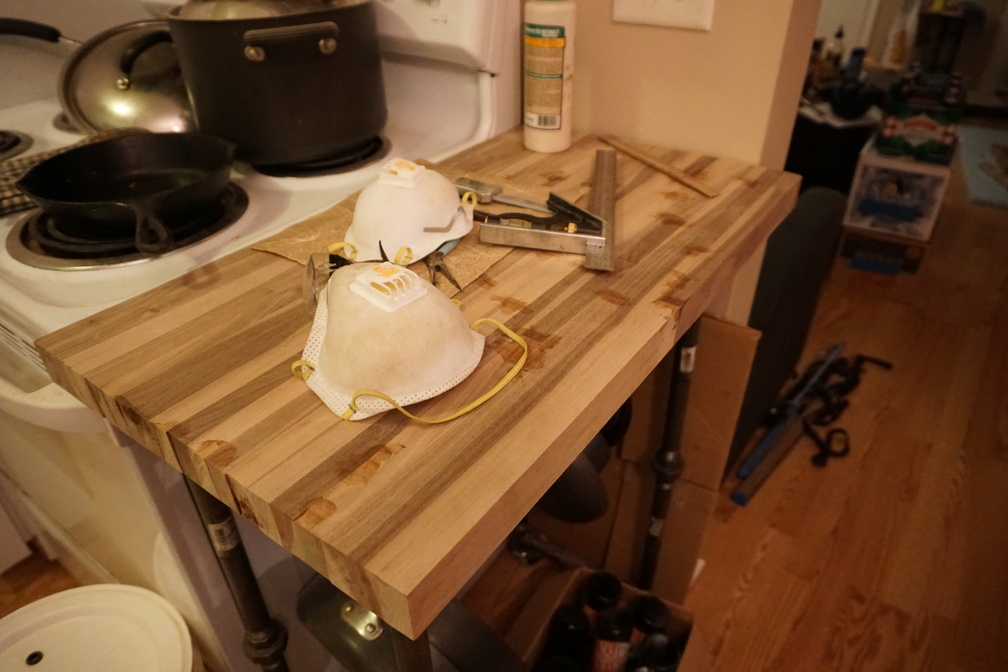 Resting in its final location, waiting for final sanding and attaching it to the frame

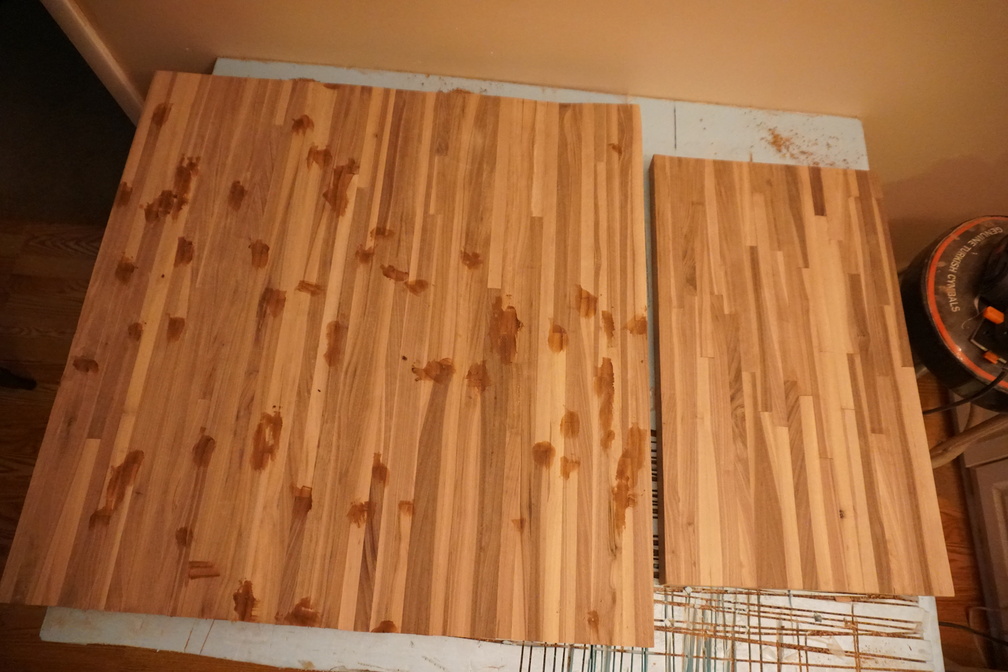 Now is the actual time for wood filler
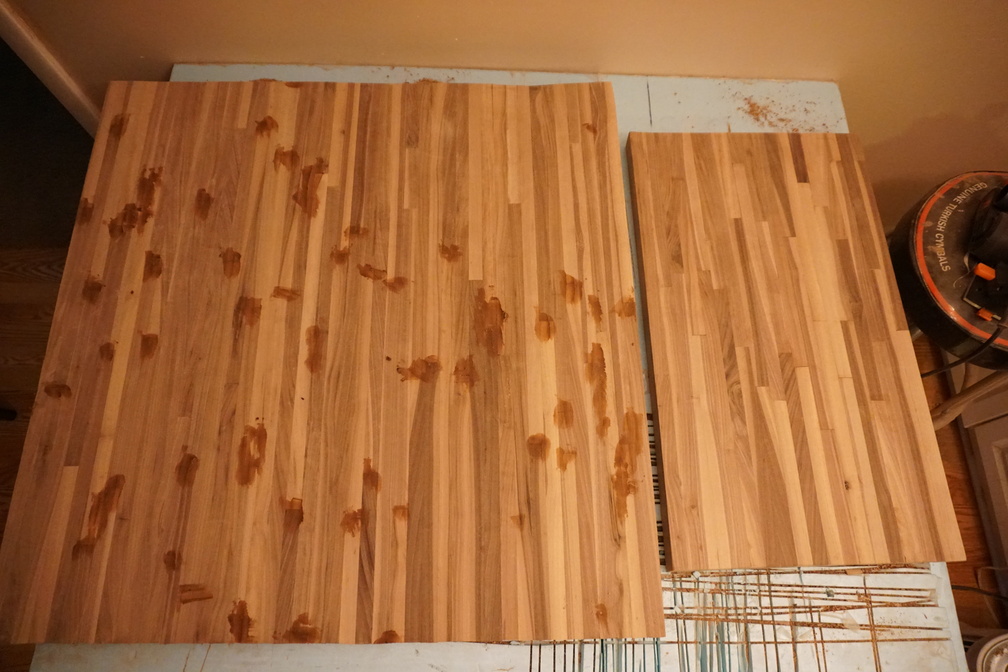
 After much sanding
Finishing Steps
 Not shown is where I flipped everything upside down and attached the frame to the underside of the wooden surface with some wood screws through the holes in the pipe flanges
 At the same time, I was also brewing and bottling the beer for a friend's wedding, so my apartment was a mess
Mineral Oil Coat
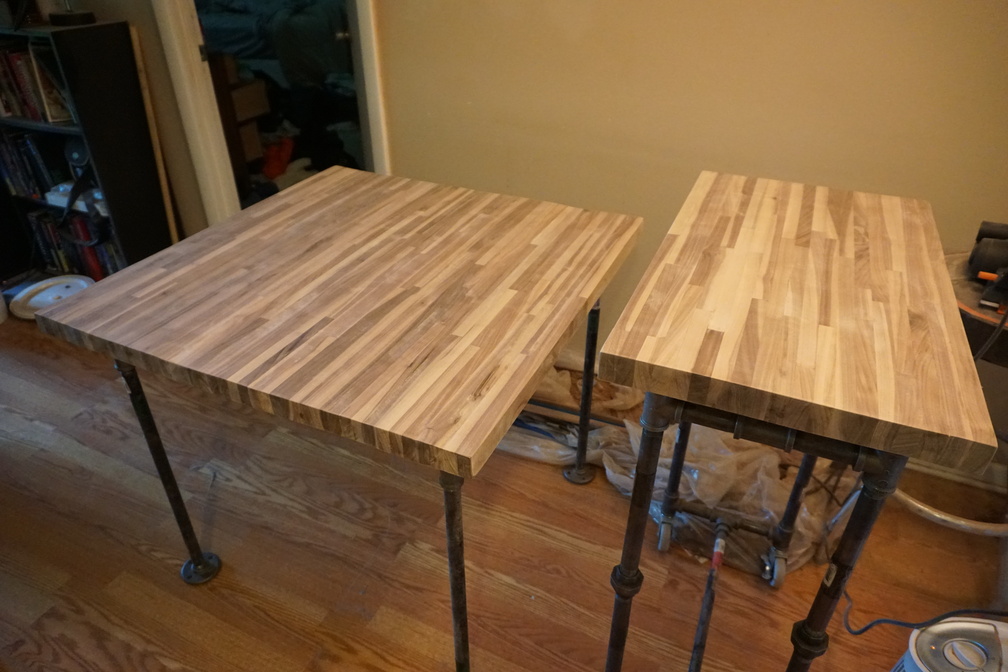
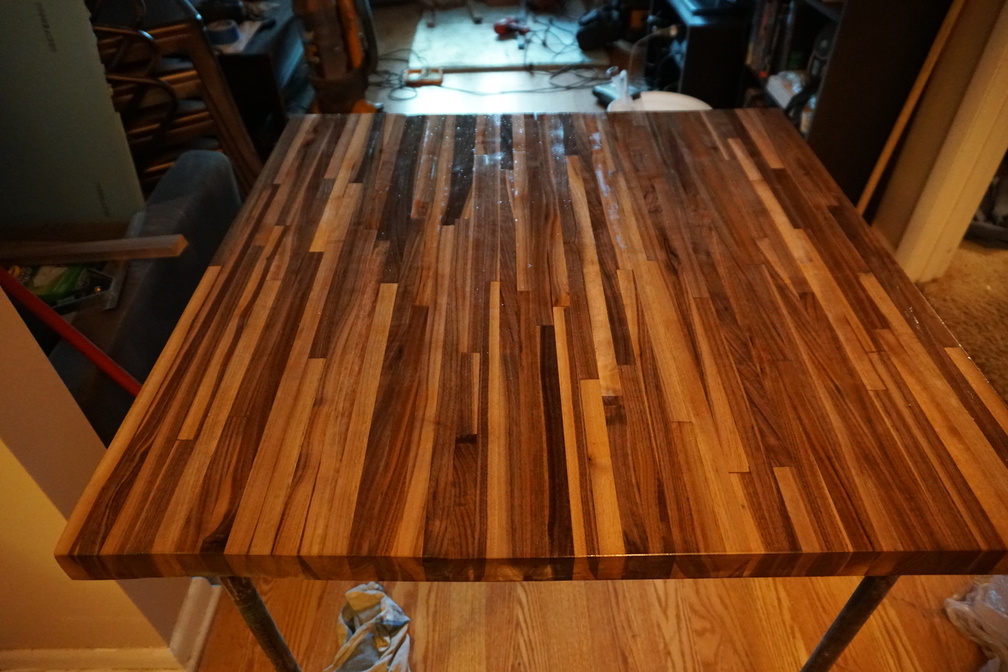
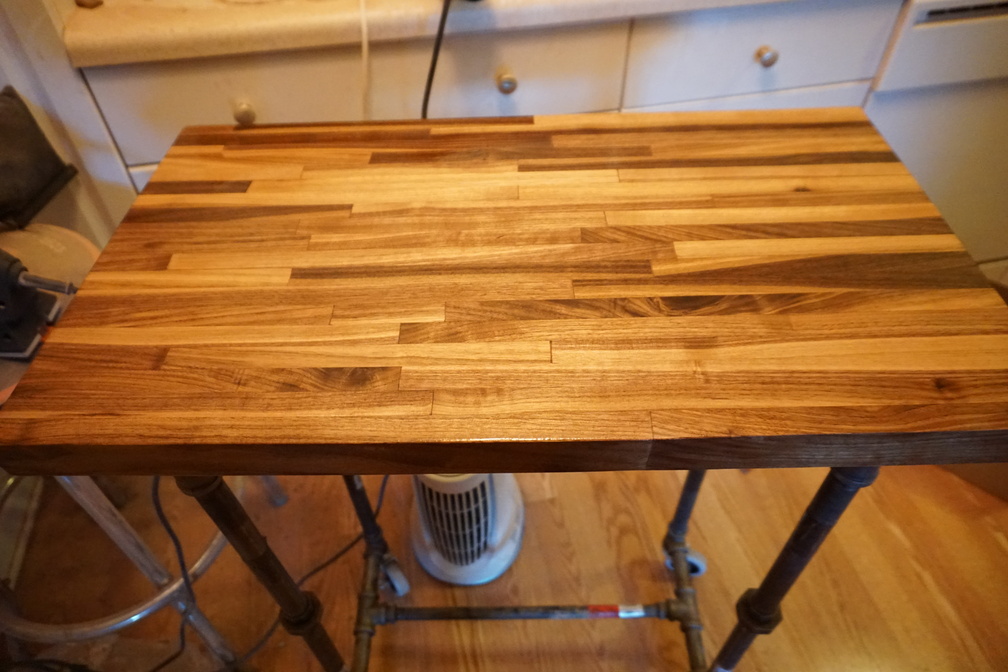 I had to remember to take a picture; the first coat of mineral oil was magical. Walnut looks good regardless, but now it really shined
 Now I know why I saved the best dark wood for the table
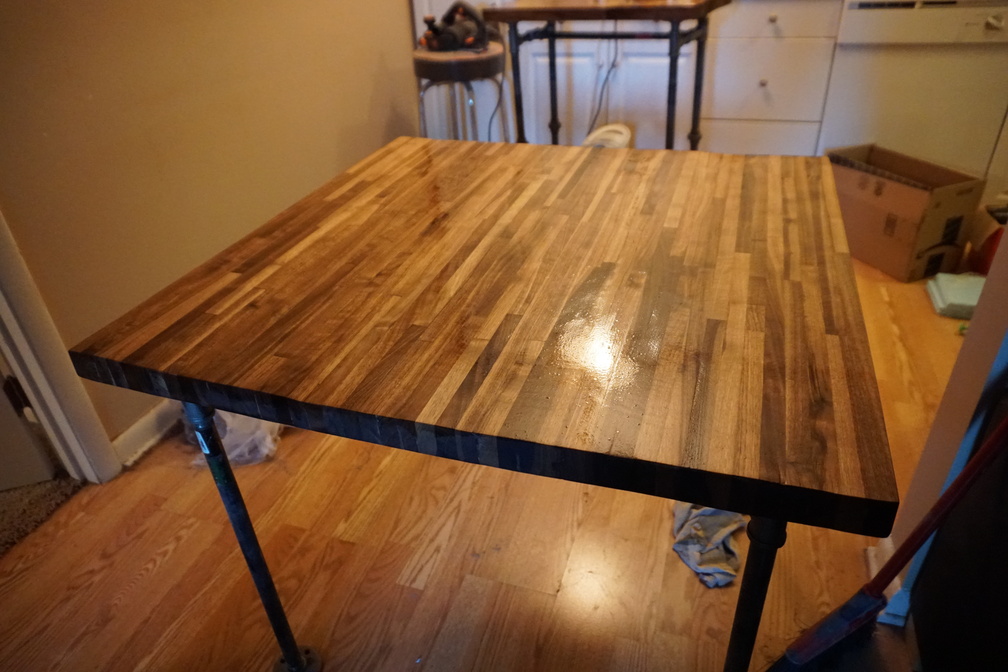
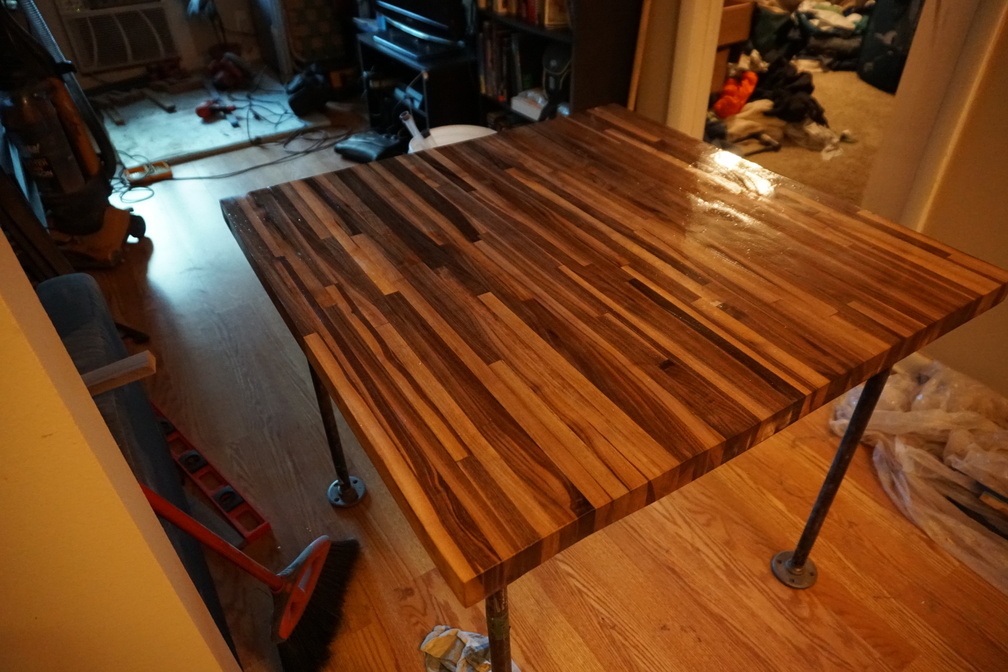
 Here it is finished. I put of a few more coats of just mineral oil and finished it with butcher block conditioner (beeswax and mineral oil)