Yes this is actually gluten-free bread, unlike the lies of other cooking blogs
Can You Replicate Glutinous Bread Without Gluten?
No
But you can get close. After a few too many failed attempts at baking gluten-free for my girlfriend (now wife) using random Google search result cooking blogs, I sought out the best reputable source as I knew this was possible. I came across and got a well cited and reviewed gluten free bread book on Amazon “Gluten-Free Artisan Bread in Five Minutes a Day…" (which is a clickbait lie regarding 5 minutes but ignore that, it’s really good). Immediately reading the essential pages, I realized that the critical step in gluten-free bread baking comes down to the composition of the flour mix, which I had largely ignored or used whatever gluten-free flour mix in my grocery store. The quality of my gluten free breads improved 10x overnight.
The flour mix is mostly rice flour based, but calls for sorghum flour (hard to find so you can replace with oat flour), potato starch (not flour), tapioca flour, and xanthan gum. Flour mix detailed below. Get a kitchen scale, and use the metric system. I use this scale.
Flour
Amount (grams)
Rice Flour
1020
Sorghum Flour
455
Potato Starch
225
Tapioca Flour
225
Xanthan Gum
40
For the recipe of the bread…I don’t want to get in trouble with the authors and provide exact numbers as they’re in the book (they have the flour mix posted on their website, so I feel comfortable posting it here), but it’s about an 85% hydration dough (by weight, total weight 925g), with ~1 Tbsp of sugar, a little bit less of kosher salt, and yeast (or around 50g of healthy sourdough starter). Once you’ve made one loaf getting the technique down, I’d recommend for the next loaf replacing the some of the water liquid weight with an egg or 20g of olive oil. I find those replacements improve the spongy chew that you traditionally lose in gluten-free baking.
Baking Techniques
The key here is using steam to cook the bread. On the easy side, you could use a lidded dutch oven or oven safe stock pot (taking off the lid ~2/3 of the way through the cook time).
Dutch Oven Method
Dutch Oven Method. 1 hour cooktime at 450F, taking the lid off after 35 minutes
Since this method requires hand forming, I’d highly recommend completely refrigerating the dough beforehand, which practically means doing the dough a day ahead of time. It will work right after the rise, but the dough won’t hold its height as well as a chilled dough.
Warm/fresh dough will still taste great, but it will come out a bit disc-like
Lay down enough parchment paper
Size depends on how deep your baking vessel is, as you’ll use the extra parchment paper to lower the dough into the hot dutch over/stock pot
Sprinkle a hefty pinch (~1 Tbsp) of corn meal (fine or coarse) onto parchment paper in the shape & size of a small dinner plate
Drop dough carefully on top of corn meal, preserving as much trapped air as possible
Wet hands with water and smooth dough into a document
I keep a bowl of water on the counter and re-wet my hands often
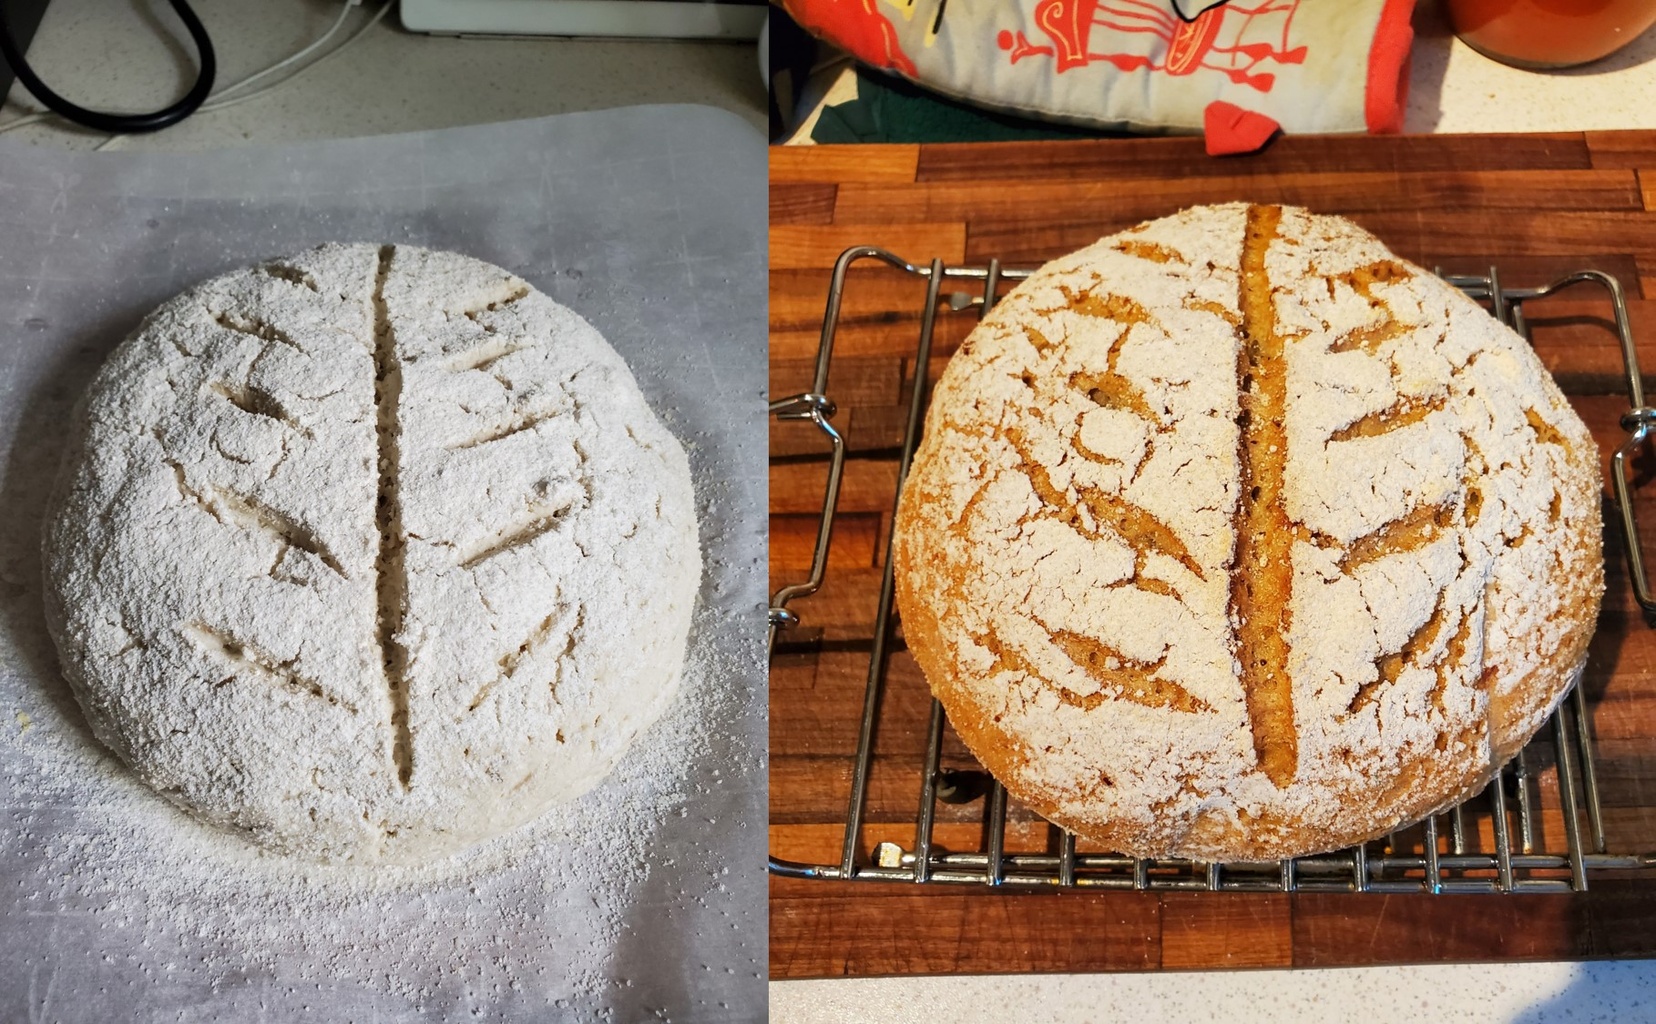
Sift a light layer of flour on top of dough
I use a fine mesh kitchen strainer
Slash the top with a sharp wet non-serrated knife
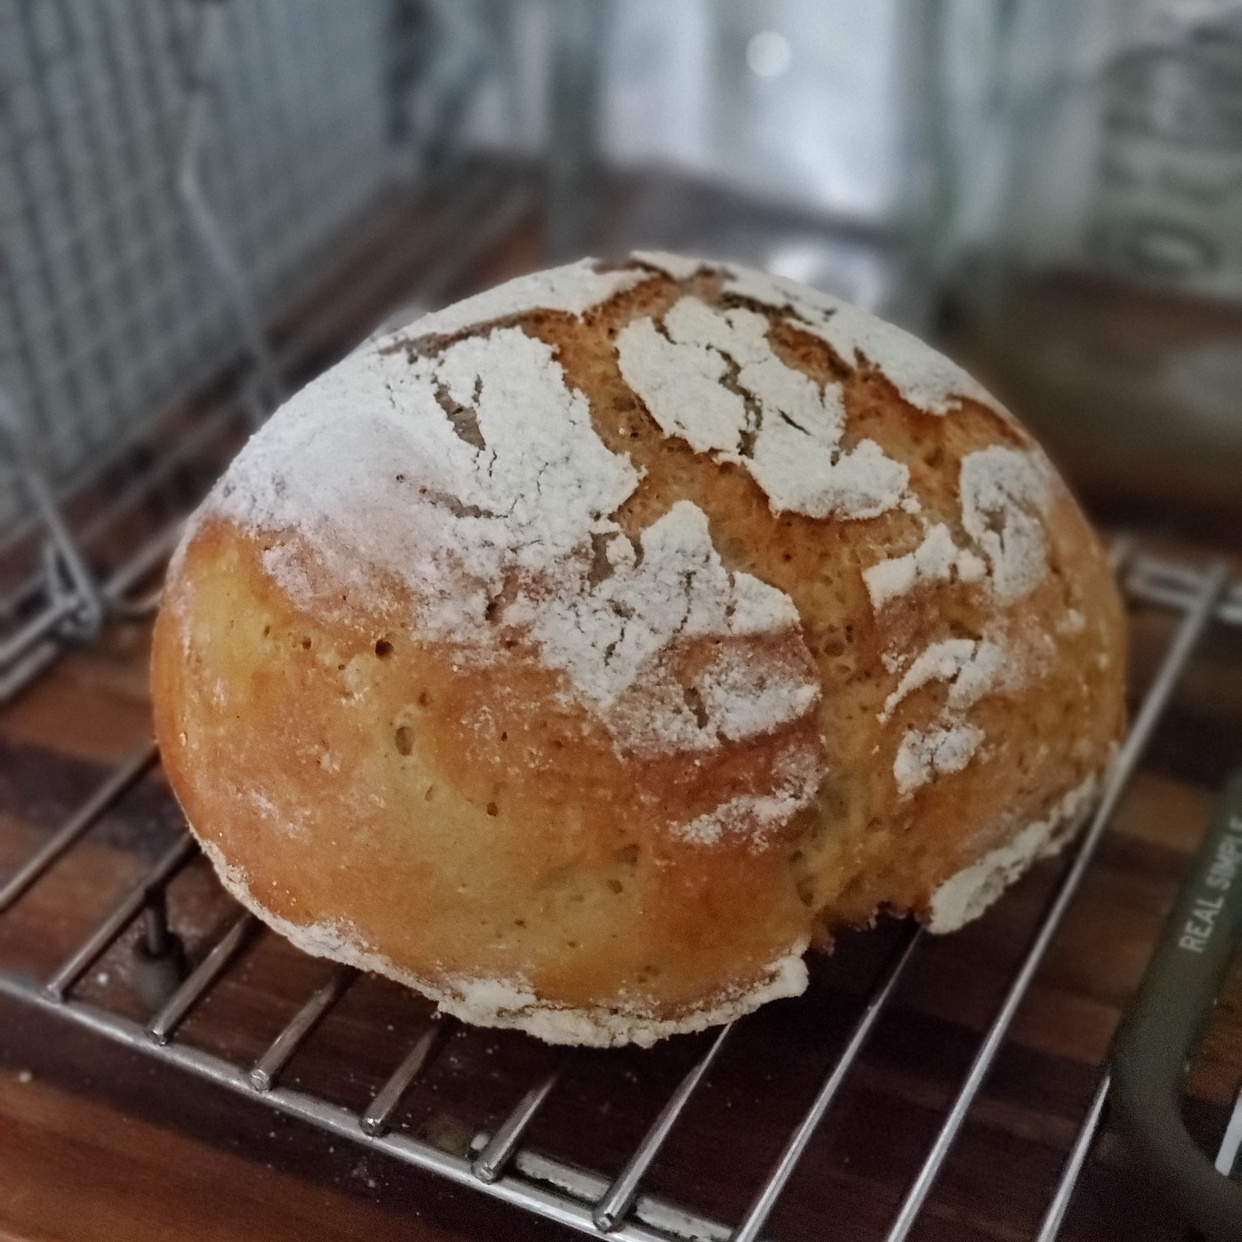
60% of the time, this works every time. It’s not as effective as glutinous doughs, and slashing won’t prevent additional cracks, sorry.
It mostly works as you can see, but don’t bet your life on the outcome
Preheat oven to 450F with the dutch oven/stock pot inside the oven to warm
Use an oven thermometer as I’ve found most ovens are inaccurate. Mine is off by as much as 50F! (link is to the one I use)
Let dough rest/rise in the time it takes your oven to preheat, at least 30 minutes if using fresh/room temperature dough and 1 hour if using cold dough
Take dutch oven/stock pot out of the oven and grasping either end of your parchment paper, lift and lower the dough into the dutch oven, being careful not to burn yourself on the hot pot
Cover with lid and place back in hot oven and bake for 55 min - 1 hour, removing the lid after 35 min.
If your bread is not browned after 55 minutes, let it continue to bake with the lid off until it is, most likely another 5-10 minutes.
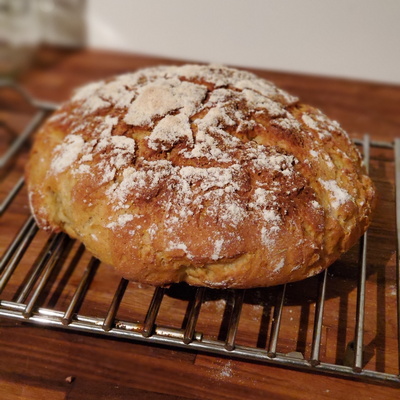
Bread Pan Method
On the other easy side, you can just add some water to a pan in the oven and never worry about opening the oven.
Steam Method in a Loaf Pan……Okay, I cheated and used an egg wash.
1 hour cooktime at 425F with 1 cup of water on a baking tray
For Those with Non-Gluten Wheat Allergies:
If you only have a non-gluten wheat allergy like my wife does, you have a few more options to get it even closer to a glutinous bread. The easiest would be to replace 5-10% of the gluten free flour mix with rye or barley flour, which contain some gluten. I tend to let my stand mixer go for a bit longer kneading the dough to develop gluten (in any minimal capacity).
I have plans at some point to try isolating & concentrating rye/barley gluten and introducing that to the gluten free flour mix, like the process to make seitan (for an example of what I’m talking about, see here). But that will have to wait for another day when I’m inspired for some kitchen mad science.
Share on
WRITTEN BY
Alex Nackenoff
Personal Website of Random Food, Tech, and Beer Projects